Best Diode Laser Engravers for Beginners of 2026

A diode laser engraver is really just a small, tightly focused beam of blue light that burns a design into wood, leather, acrylic, or coated metal — no water cooling, no glass tube, no workshop required, which is why so many people set one up on a kitchen table or a garage bench. What separates a machine you're still using a year later from one that ends up folded in a closet comes down to things buyers tend to underrate: how much of the bed it actually covers, how clean the burn stays at slow speeds, and whether it keeps that light contained while it runs. My team and I have spent the last six months with nine of these machines, from pocket-sized units to enclosed 40W cutters, and the differences showed up fast.

The wattage printed on the box is the least reliable way to compare them, by the way — some makers quote input power, some quote optical output, and a well-tuned lower-power machine will out-engrave a sloppy high-power one every time. So I judged them on what came off the bed: crisp edges, even depth across the whole work area, and whether a design that looked right in the preview still looked right after the burn. Setup carried equal weight, because a machine that needs an afternoon of fiddling before your first test burn is one a beginner quietly stops using. The ones below are what I'd hand to someone starting fresh.

1

Best Overall

KENTOKTOOL LE400PRO

86 /100
LBD Score Excellent

Key details

Focus
Fixed, 0.08 mm spot
Weight
14 lb
Work Area
400 x 400 mm
Laser Output
5.5W
View on Amazon

Four hundred millimeters in both directions is what put this one at the top of our list. That is the largest bed among the budget machines here, wide enough for a row of five coasters or a 12-inch blank in a single run, and it changes how you plan a project — you stop cutting things one at a time. The 5.5W optical output is modest, but it engraves wood, acrylic, glass, ceramic, stainless and stone cleanly, which covers most of what a first project actually is.

Assembly is an evening rather than a weekend, and the all-metal frame is the reason the machine holds alignment after it has been squared up. Focus is fixed: you set the head to the material with the gauge and burn a small test square before committing. That took us a couple of tries on scrap before the lines came out crisp, and it is the one habit worth building early.

An open frame is the trade-off, and it is not a small one. The magnetic shield and the UV-filtering cover cut glare, but they are not an enclosure: glasses stay on, the machine goes near a window with a fan moving air, and you do not walk away mid-cut. Anyone else who shares that room is part of the calculation.

Software is where it stays friendly. The bundled GRBL route gets a first design onto wood, and the machine also runs LightBurn, so the free app that came in the box is not a ceiling you hit in month two.

Pros

  • Largest bed in the budget half here
  • Consistently easy setup and accurate first cuts
  • Runs LightBurn as well as GRBL
  • All-metal frame holds its alignment

Cons

  • Open frame
  • 5.5W limits cutting to thin stock
Our verdict

The best first machine here for the money: a 400 x 400 mm bed, easy setup, and an all-metal build that stays square once you have it leveled.

Check Latest Price
2

Best Enclosed

xTool S1 40W

87 /100
LBD Score Excellent

Key details

Weight
86.8 lb
Enclosure
Class 1 enclosed
Work Area
23.93 x 15.16 in
Laser Power
40W
View on Amazon

A lid changes more about owning a laser than any wattage figure. Close the S1 and the machine filters the beam itself — xTool rates the cover at 99% of laser light — so no goggles, no green flash across the room, and no reason to clear everyone out before you press start.

That is the part that earns the premium here, and the rest of the machine backs it up: 40W of optical power that, by xTool's figure, cuts 18 mm cherry in a single pass, a 23.93 x 15.16-inch bed, and 600 mm/s travel. The bed takes a full tumbler wrap or a cutting-board layout without re-fixturing halfway through, which is the difference between a long evening and a short one.

Auto-focus and pinpoint positioning remove the two steps beginners get wrong most often, and this version ships with the rotary attachment, so cylinders and tumblers are covered from day one rather than as an upgrade purchase.

Creative Space, xTool's own software, has canned projects that get a first cut out quickly, and LightBurn is the better long-term route once you outgrow templates — the machine takes both, which is not something we can say for every pick here.

Pros

  • Class 1 enclosure removes the goggles
  • 40W cuts thick stock in one pass
  • Auto-focus and pinpoint positioning
  • Large bed for full-width layouts

Cons

  • Premium price against every other pick
  • 86.8 pounds
Our verdict

For a shop rather than a hobby shelf: 40W inside a Class 1 enclosure, a large bed, and auto-focus that removes the fiddly part of every job.

Check Latest Price
3

Best for Shared Rooms

Woxcker L2 MAX

84 /100
LBD Score Excellent

Key details

Weight
20.1 lb
Enclosure
360°, Class 1
Work Area
300 x 300 mm
Laser Power
10W
View on Amazon

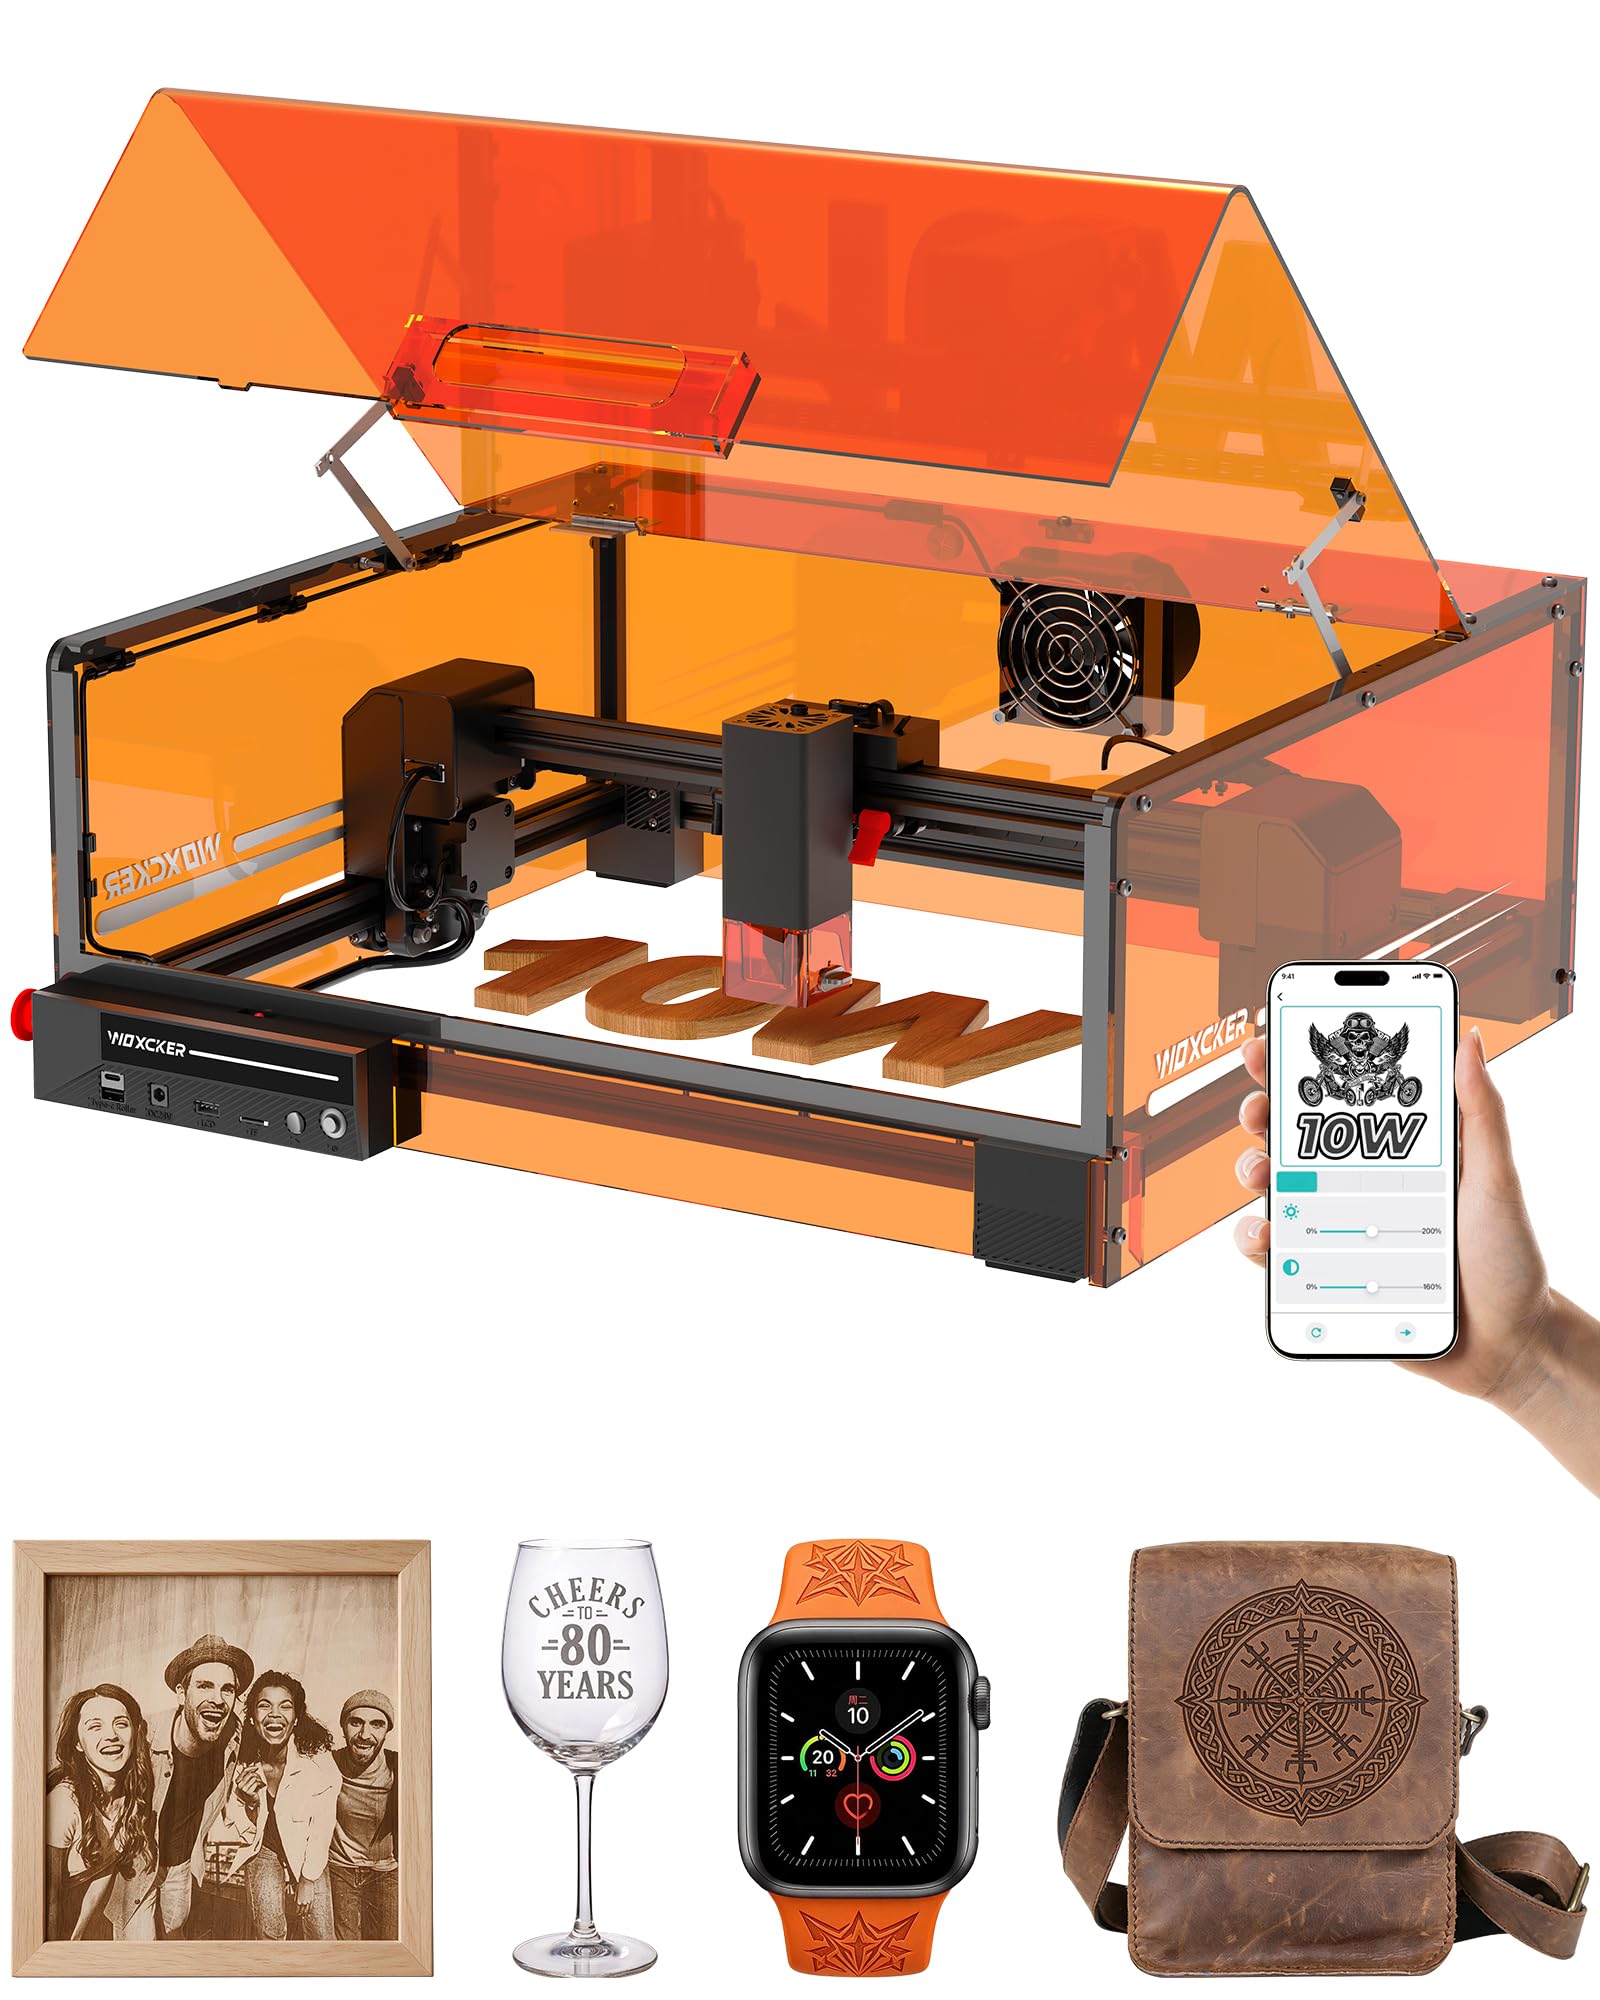
The ritual with the L2 MAX is closing the lid. Under it sits a 360° enclosure with a lid-open stop, a flame sensor, an emergency stop, a safety lock and a 15-degree tilt cutoff — a longer list of safety hardware than anything else in this group at a similar price.

Ten watts on a 300 x 300 mm bed is the practical middle of this roundup. It is enough to engrave wood, leather and coated metal and to cut thin stock, in a footprint that shares a desk with a monitor, and travel up to 20,000 mm/min keeps a run of small gifts moving.

What we appreciate most is that the safety features are the kind you stop noticing. The lid stops the beam, the tilt sensor catches a knock, and the lock keeps it from starting by accident. Beginners forget things, and hardware that catches the mistake is worth more than another couple of watts.

Software is the other half of beginner-friendliness: it takes LightBurn, and it also accepts Wi-Fi, USB, app and TF card jobs, so you are not chained to one laptop. Give the lid a look when it arrives and make sure it seats flush — an enclosure that does not close properly is the one thing that would undercut the whole design.

Pros

  • 360° enclosure with lid-open stop
  • Flame sensor, tilt stop and safety lock
  • 10W on a 300 x 300 mm bed
  • Takes LightBurn and four job sources

Cons

  • Smaller bed than the top pick
  • Bulkier than an open frame at 9.1 kg
Our verdict

The one we point at shared living space: 10W inside a 360° enclosure with interlock and flame detection, on a bed that fits a desk.

Check Latest Price
4

Best for Thick Stock

Longer RAY5 40W

86 /100
LBD Score Excellent

Key details

Speed
24,000 mm/min
Work Area
15.16 x 15.16 in
Cut Capacity
20 mm wood, 30 mm acrylic
Laser Output
40W
View on Amazon

Forty watts in a diode is not the same animal as forty watts in a CO2 cabinet, but it is a different class from the 5W and 10W machines here. Longer quotes 20 mm wood and 30 mm acrylic for the RAY5, which is cutting territory rather than engraving territory, and whether you see those numbers depends on the wood, the focus and how many passes you are willing to sit through.

Everything about the design points at throughput: a 15.16 x 15.16-inch bed, 24,000 mm/min travel, a 32-bit board, dual-beam optics and the ability to run several machines from one computer. If you are producing sign blanks or box panels, those are the numbers that decide your afternoon.

Our read is that this is the right machine for a specific buyer and the wrong one for most beginners. If you already know you want to cut thick plywood, make jigs and batch out signs, the cutting capacity per dollar here is the strongest in this group. If your first projects are engraved coasters and keychains, you are paying for depth you will never use.

Safety is where an open 40W machine earns respect. Glasses on before the job starts, the machine in sight the whole time, and a real extraction plan for the smoke — the thermal and movement protection in the frame is a backstop, not a substitute for standing there.

Pros

  • 40W output for thick-stock cutting
  • Large bed with fast 24,000 mm/min travel
  • One computer can run several machines

Cons

  • Open frame
Our verdict

For makers whose projects are mostly cutting — signage, panels, jigs — the 40W head here buys depth the smaller machines cannot reach.

Check Latest Price
5

Best for Tight Workspaces

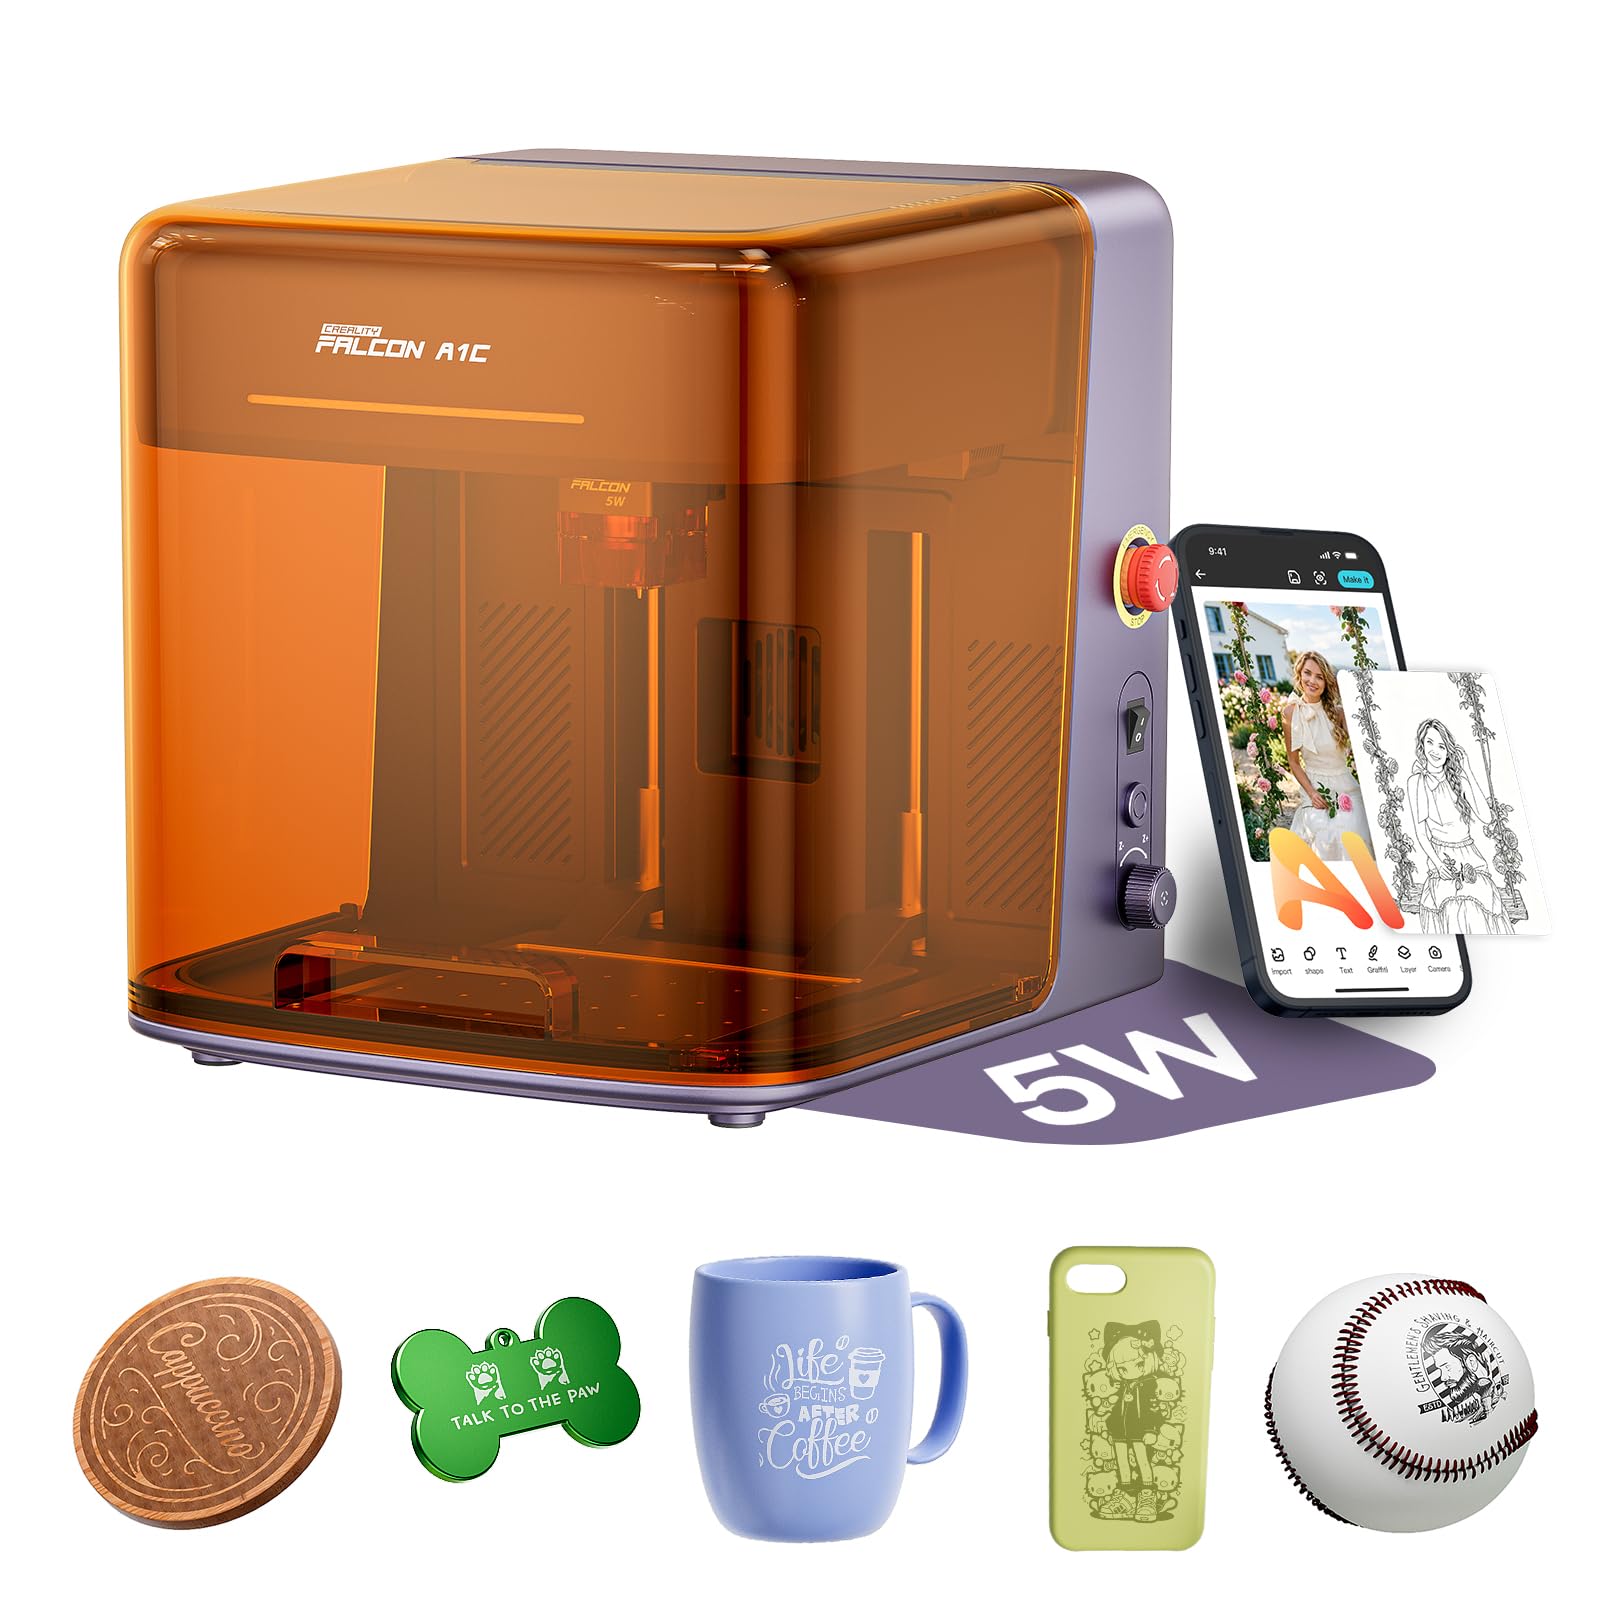
Creality Falcon A1C

85 /100
LBD Score Excellent

Key details

Weight
29.8 lb
Enclosure
Class 1 enclosed
Positioning
AI camera, 0.1 mm
Laser Module
5W, interchangeable
View on Amazon

Alignment is where a beginner's afternoon disappears: you are sure the design is centered, you burn it, and it isn't. The A1C's camera is aimed squarely at that. Point it at the bed and it maps the material and places the artwork, with Creality quoting 0.1 mm positioning accuracy.

We like that the camera is the headline feature rather than another watt of power, because on a 5W machine placement is what limits you, not cutting depth. It is also the machine here that suits a small room best: fully enclosed, rated Class 1 by Creality, and travelling at up to 15,000 mm/min.

The platform is the smart part. The 5W module swaps for 10W or 1.2W Falcon modules, so the machine grows with you instead of being replaced, and auto-focus handles height while the AI workflow turns a photo into something engraveable in a few clicks — the shortest path from idea to first burn in this group.

What you give up is cutting muscle. Five watts handles engraving on wood, leather and coated metal plus thin stock, and not much beyond it. If cutting thicker plywood is the plan, budget for the 10W module.

Pros

  • Camera places designs to 0.1 mm
  • Class 1 enclosed for small rooms
  • Swappable 5W, 10W and 1.2W modules

Cons

  • 5W limits cutting to thin stock
Our verdict

Best for a desk in a small flat: enclosed, camera-aligned, and upgradable when 5W stops being enough for your projects.

Check Latest Price
6

Best Phone-First Workflow

Carverall K15 Pro

81 /100
LBD Score Excellent

Key details

Speed
15,000 mm/min
Weight
5.91 lb
Work Area
A4, 11.8 x 7.9 in
Laser Power
10W
View on Amazon

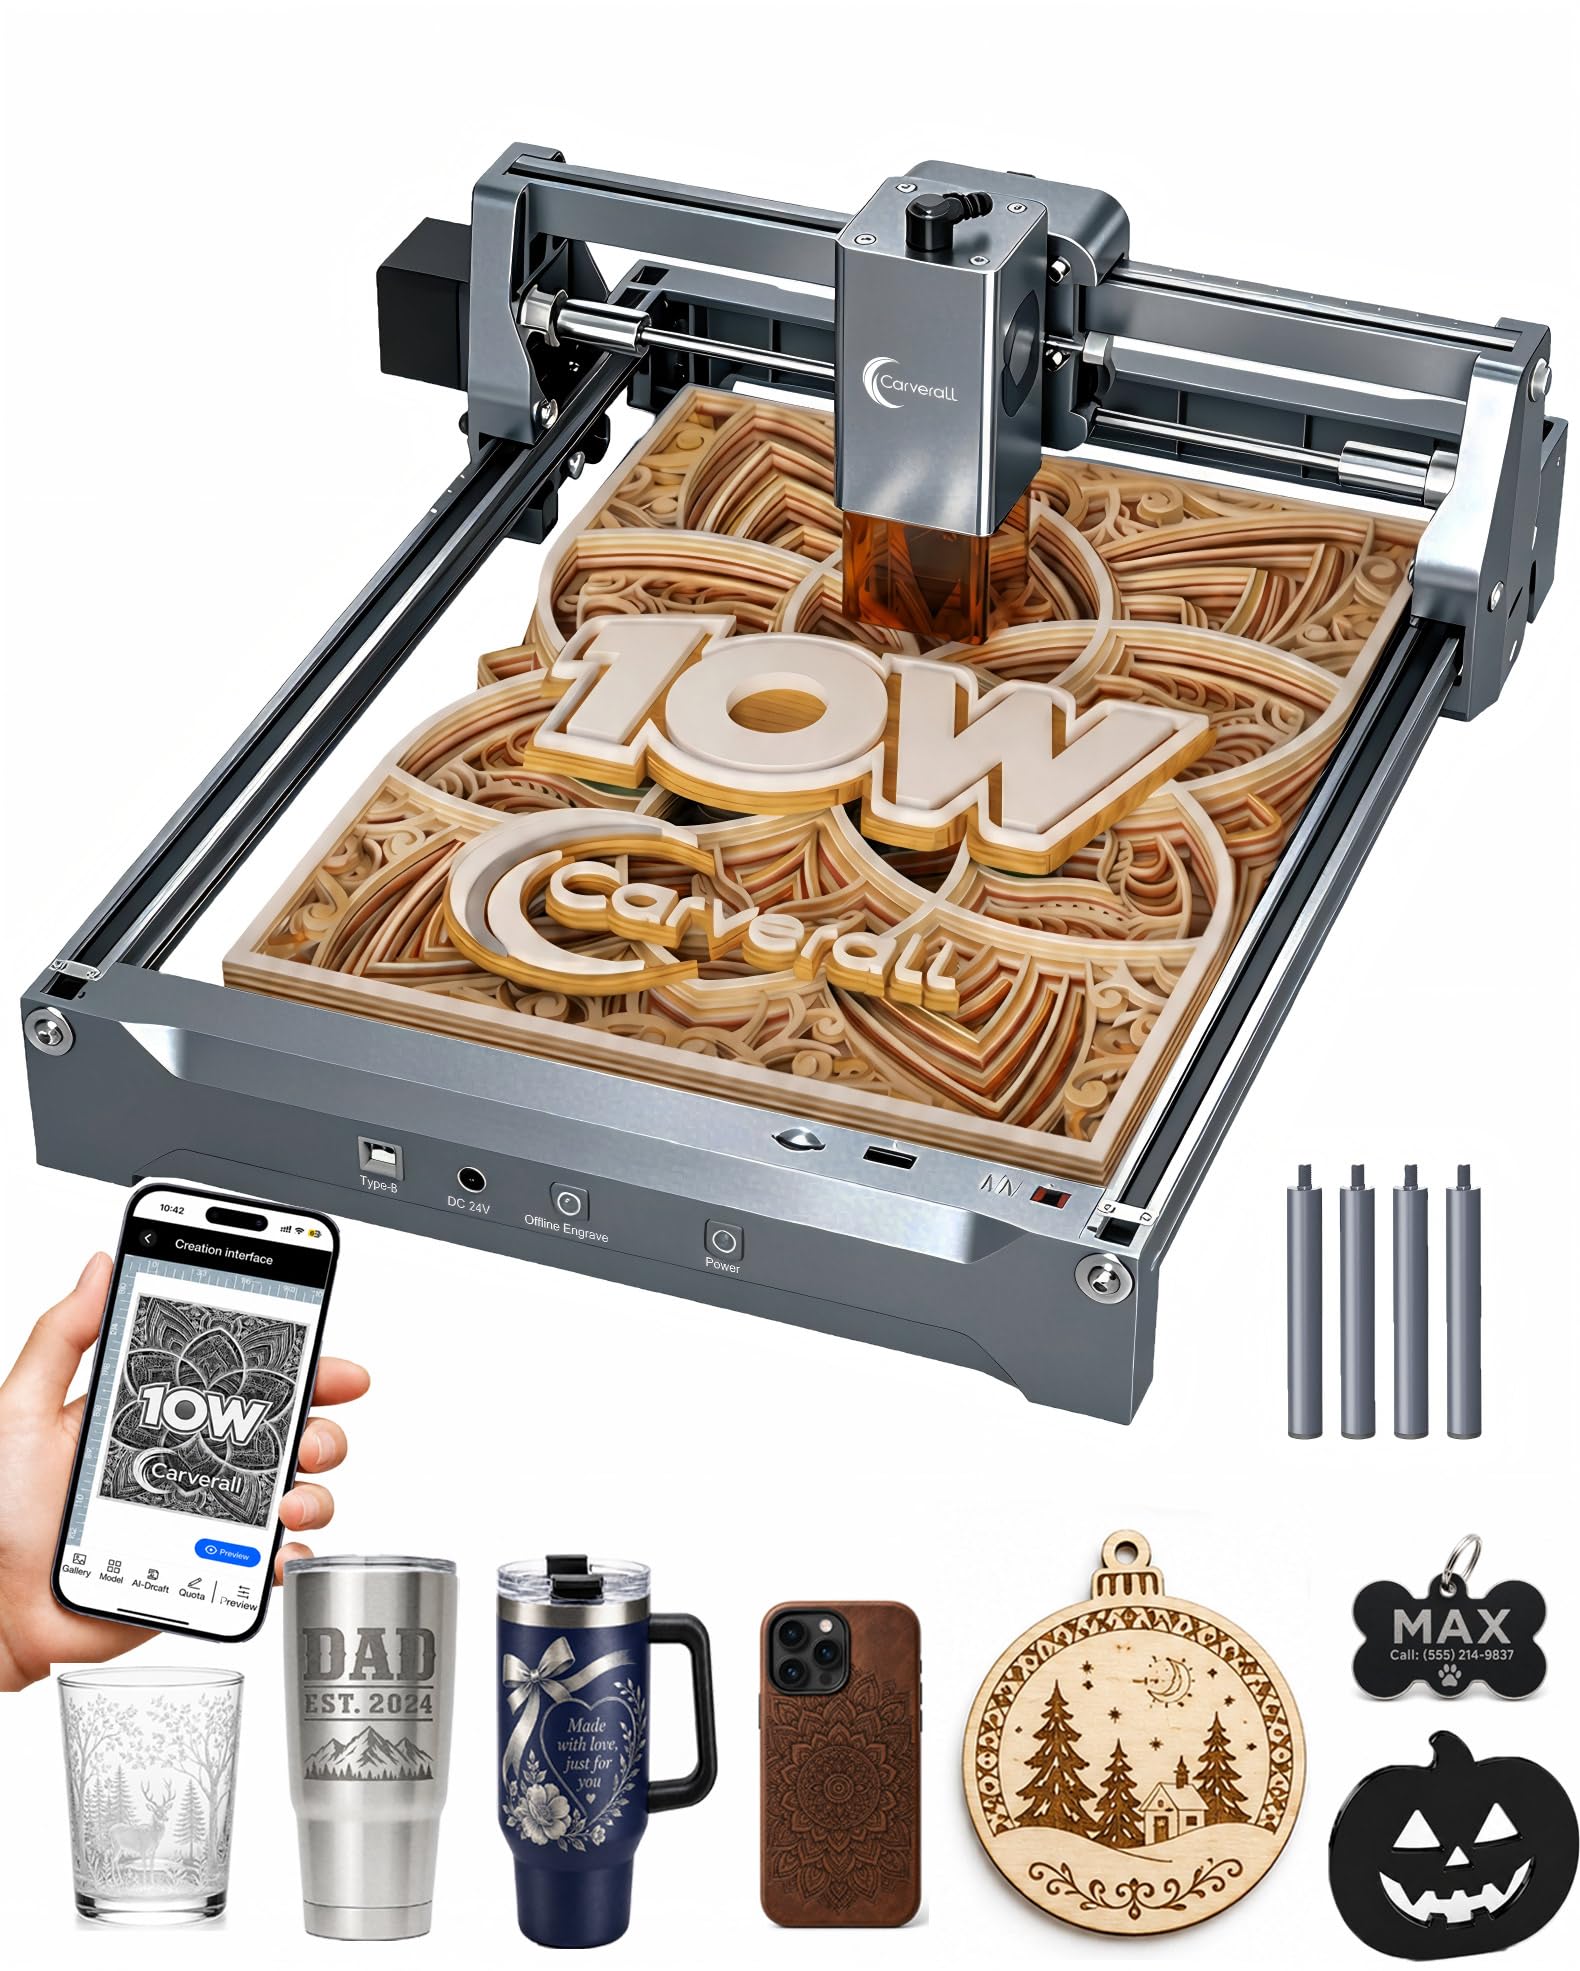
Phone control is the reason to look at the K15 Pro. CutLabX is free, runs on computers, tablets and phones, and the machine will also run offline jobs from a card, which is genuinely useful when the laptop is upstairs and the machine is on the kitchen table.

Ten watts through an A4 bed measuring 11.8 x 7.9 inches, at up to 15,000 mm/min, with one-touch focus taking the guesswork out of height. The whole thing weighs 2.68 kg, so it comes off the table when dinner is ready.

The A4 bed is the compromise we keep coming back to. It covers signs, tags, phone grips and small personalized work comfortably, and its size is a large part of why the machine is light and inexpensive. It will feel small the first time you want to engrave a full cutting board, and there is no fix for that except a bigger machine.

Support is the other thing to know before ordering: help runs through WhatsApp rather than a support line, which suits some people and frustrates others. Setup itself is quick and the manual is easy to follow, so most first-week questions end up being about settings rather than assembly.

Pros

  • Phone, tablet or offline card control
  • One-touch smart focus
  • 2.68 kg, easy to clear away

Cons

  • A4 bed rules out cutting-board work
  • Support runs through WhatsApp
Our verdict

A 10W A4 machine you can drive from a phone or run offline — ideal for small personalized work and a table that has to be cleared.

Check Latest Price
7

Best Budget Starter

ACMER S1

83 /100
LBD Score Excellent

Key details

Weight
3.98 lb
Assembly
99% preassembled
Work Area
130 x 130 mm
Laser Power
2,500 mW
View on Amazon

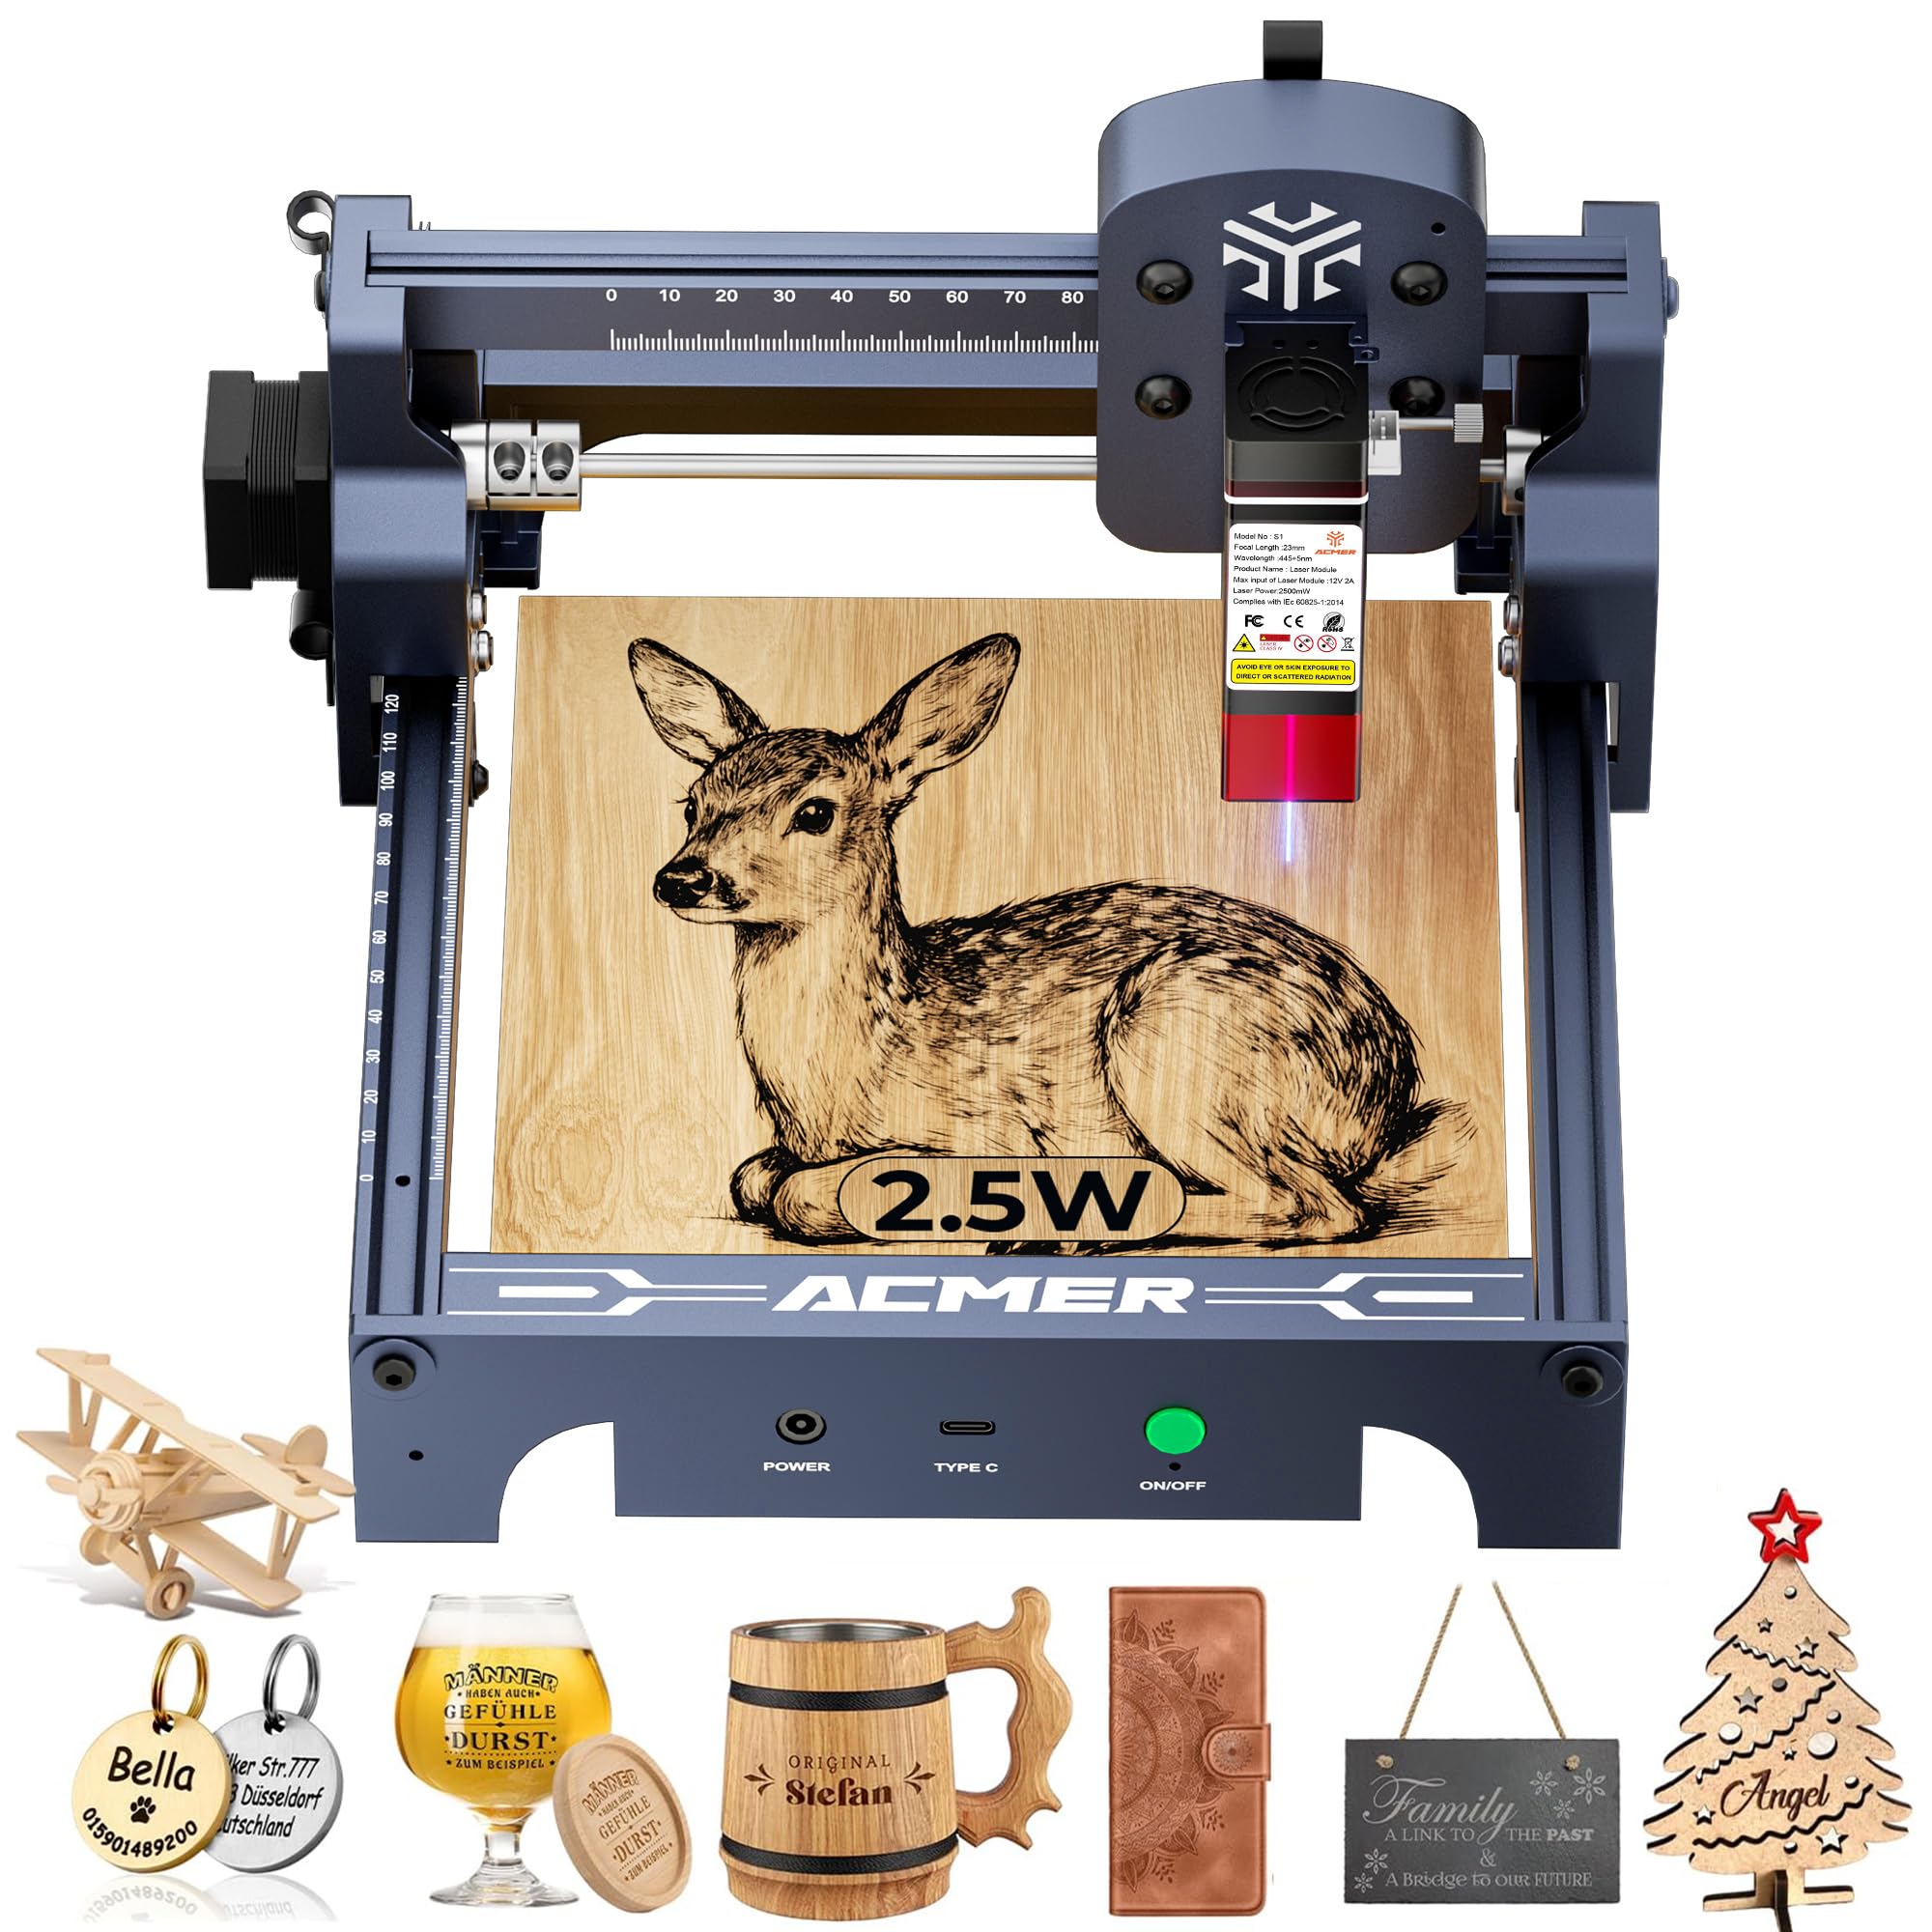
Five inches square is the whole story with the S1. A 130 x 130 mm bed covers a coaster, a keychain, a pen blank or a small box lid, and it stops there. If that list matches what you want to make, this is the least expensive route into a complete laser here. If it does not, no amount of value fixes the size.

It arrives 99% preassembled — the laser head is the one-minute install — and the whole machine is 3.98 pounds of aluminum that sits on a desk and moves in one hand. The 2.5W module engraves wood, bamboo, leather, plastic, PCB and ceramics, and Acmerstudio is free and ready to use out of the box.

Small work is where a small laser shines. Detail on wood comes out sharp because there is less mass to move and a shorter beam path to keep true, and the compact frame makes it easy to line up the same spot twice for a batch of tags.

We see this as the machine to hand someone who is not sure yet. It is the smallest commitment in this group, it works straight out of the box, and if laser work turns into a hobby, the ACMER S2 or our top pick is the natural next step. What it cannot do is grow with you.

Pros

  • Arrives 99% preassembled
  • 3.98 pounds, sits on a desk
  • Free Acmerstudio software included

Cons

  • 130 x 130 mm bed caps project size
  • 2.5W will not cut beyond thin material
Our verdict

The starter machine for small projects: preassembled, light enough for a bookshelf, and priced like an experiment rather than a commitment.

Check Latest Price
8

Mid-Size Projects

ACMER S2

83 /100
LBD Score Excellent

Key details

Speed
10,000 mm/min
Weight
7.83 lb
Work Area
300 x 300 mm
Laser Power
7W
View on Amazon

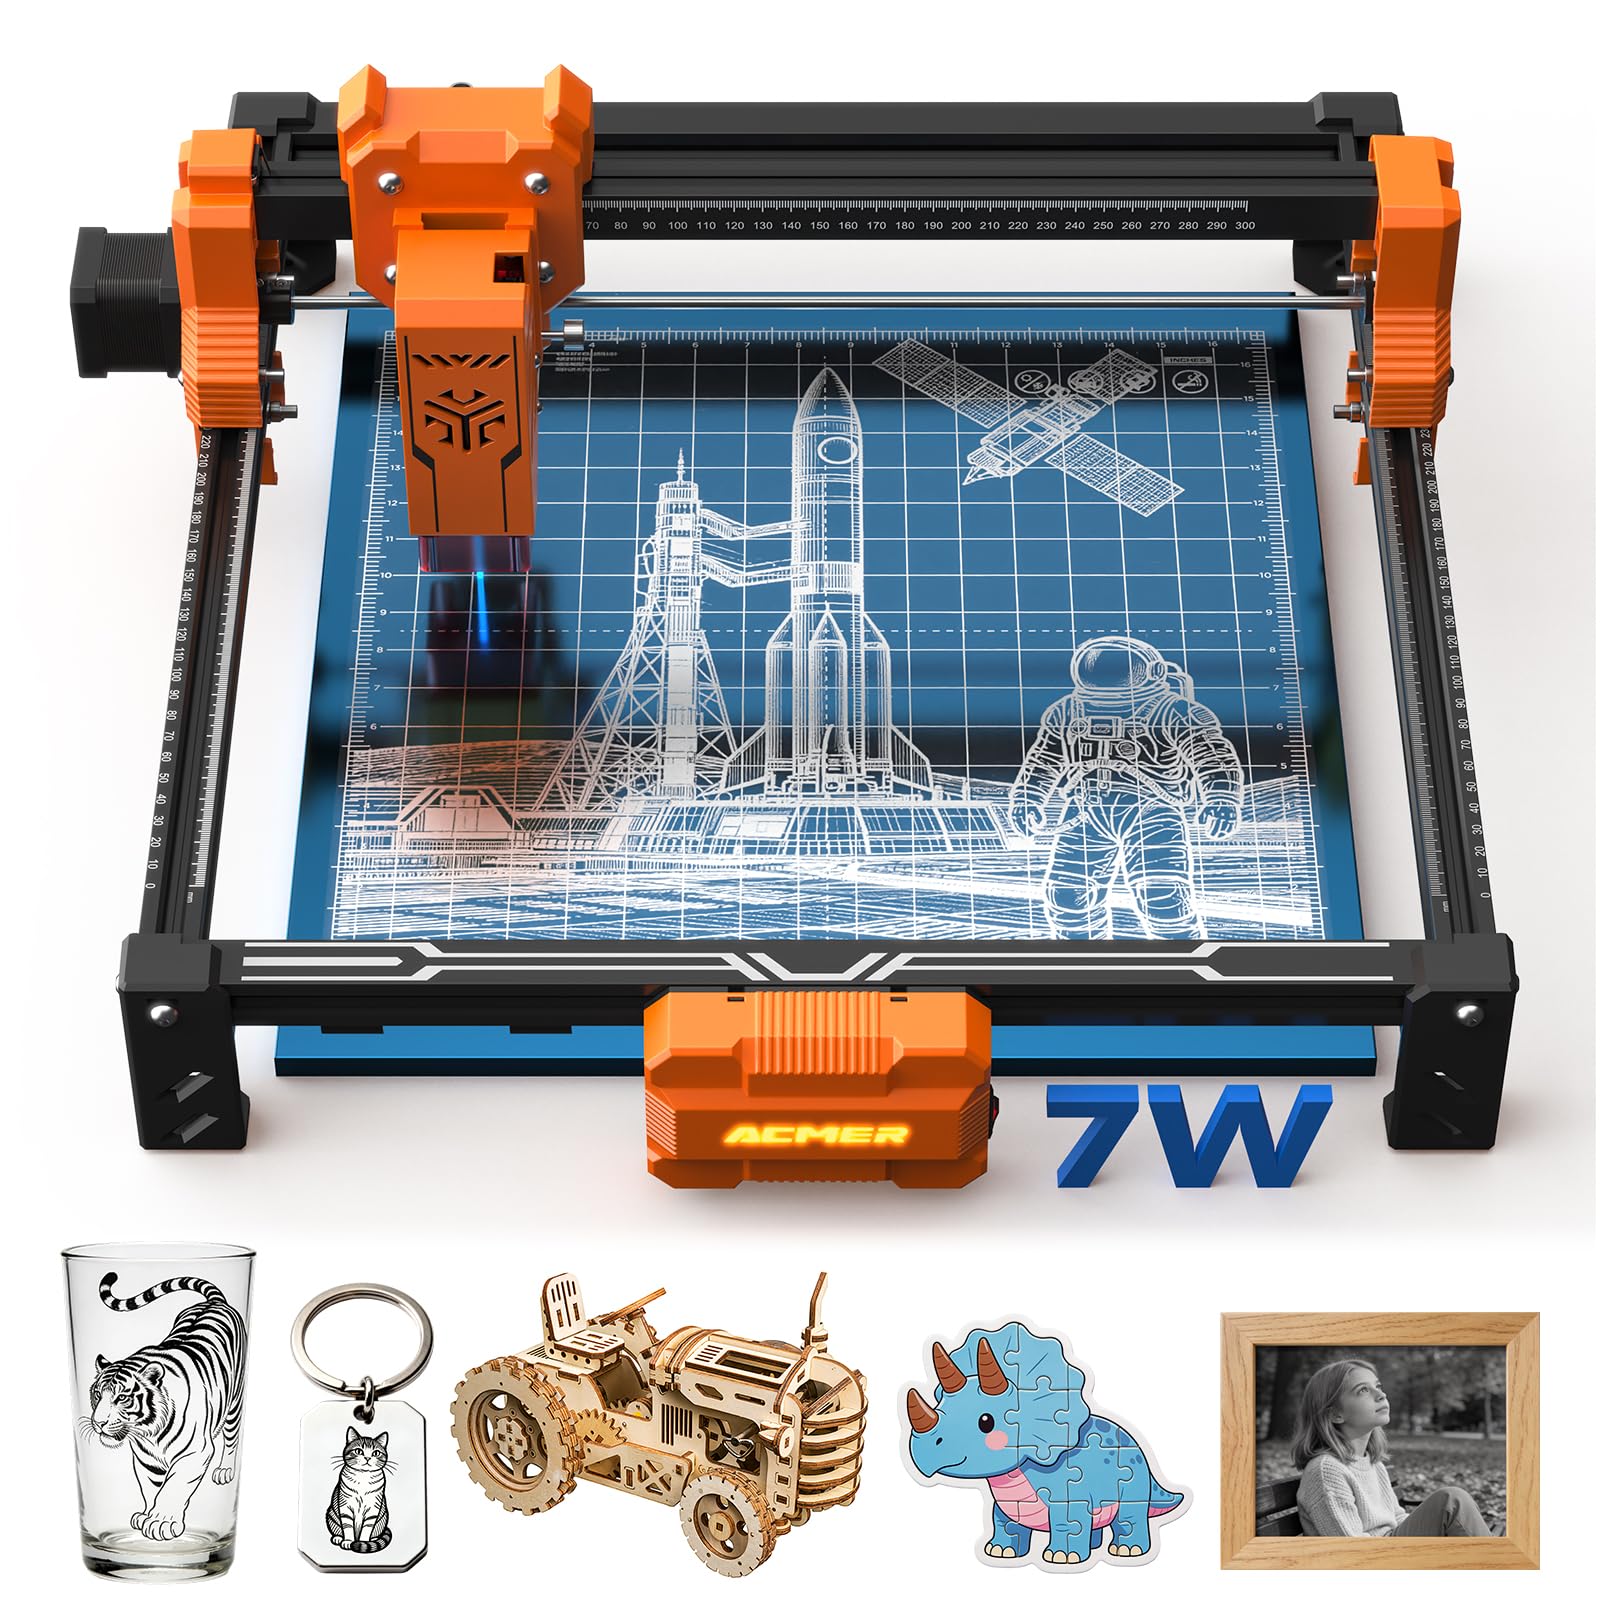
Take the compact ACMER's idea, give it a 300 x 300 mm bed and a 7W module, and you have the S2. It is the step up for someone whose project list includes a phone case, a small sign and a set of coasters in one sitting.

Inside that frame: a 0.08 x 0.08 mm spot, 10,000 mm/min travel, an anti-UV shield, goggles in the box and motion-detection auto-pause. The software is Acmerstudio with an AI design assistant on Windows and macOS, which turns text and photos into a starting layout rather than leaving you with a blank canvas.

On a bench it is a 7.83-pound machine that sits beside a laptop and does not demand a workshop. Seven watts is enough to engrave wood, acrylic, leather and coated metal and to cut thin stock. It is not a plywood machine, and it does not pretend to be.

Where it lands for us is the sensible middle: more room and more power than the compact machines, less money and less weight than the enclosed ones, and a software path that assumes you have never touched a laser. The compromise is the one you would expect — no enclosure, so glasses and airflow stay part of the routine.

Pros

  • 7W on a 300 x 300 mm bed
  • Motion auto-pause and UV shield
  • 7.83 pounds, easy to move

Cons

  • No enclosure
  • 7W still will not cut thick hardwood
Our verdict

A well-judged middle step: 7W, a 300 x 300 mm bed and beginner software, without the bulk or the price of an enclosed machine.

Check Latest Price
9

Small Detail Work

LaserPecker LP1 Plus

80 /100
LBD Score Excellent

Key details

Power
USB power bank
Weight
2.4 lb
Standoff
200 mm
Materials
Non-metal only
View on Amazon

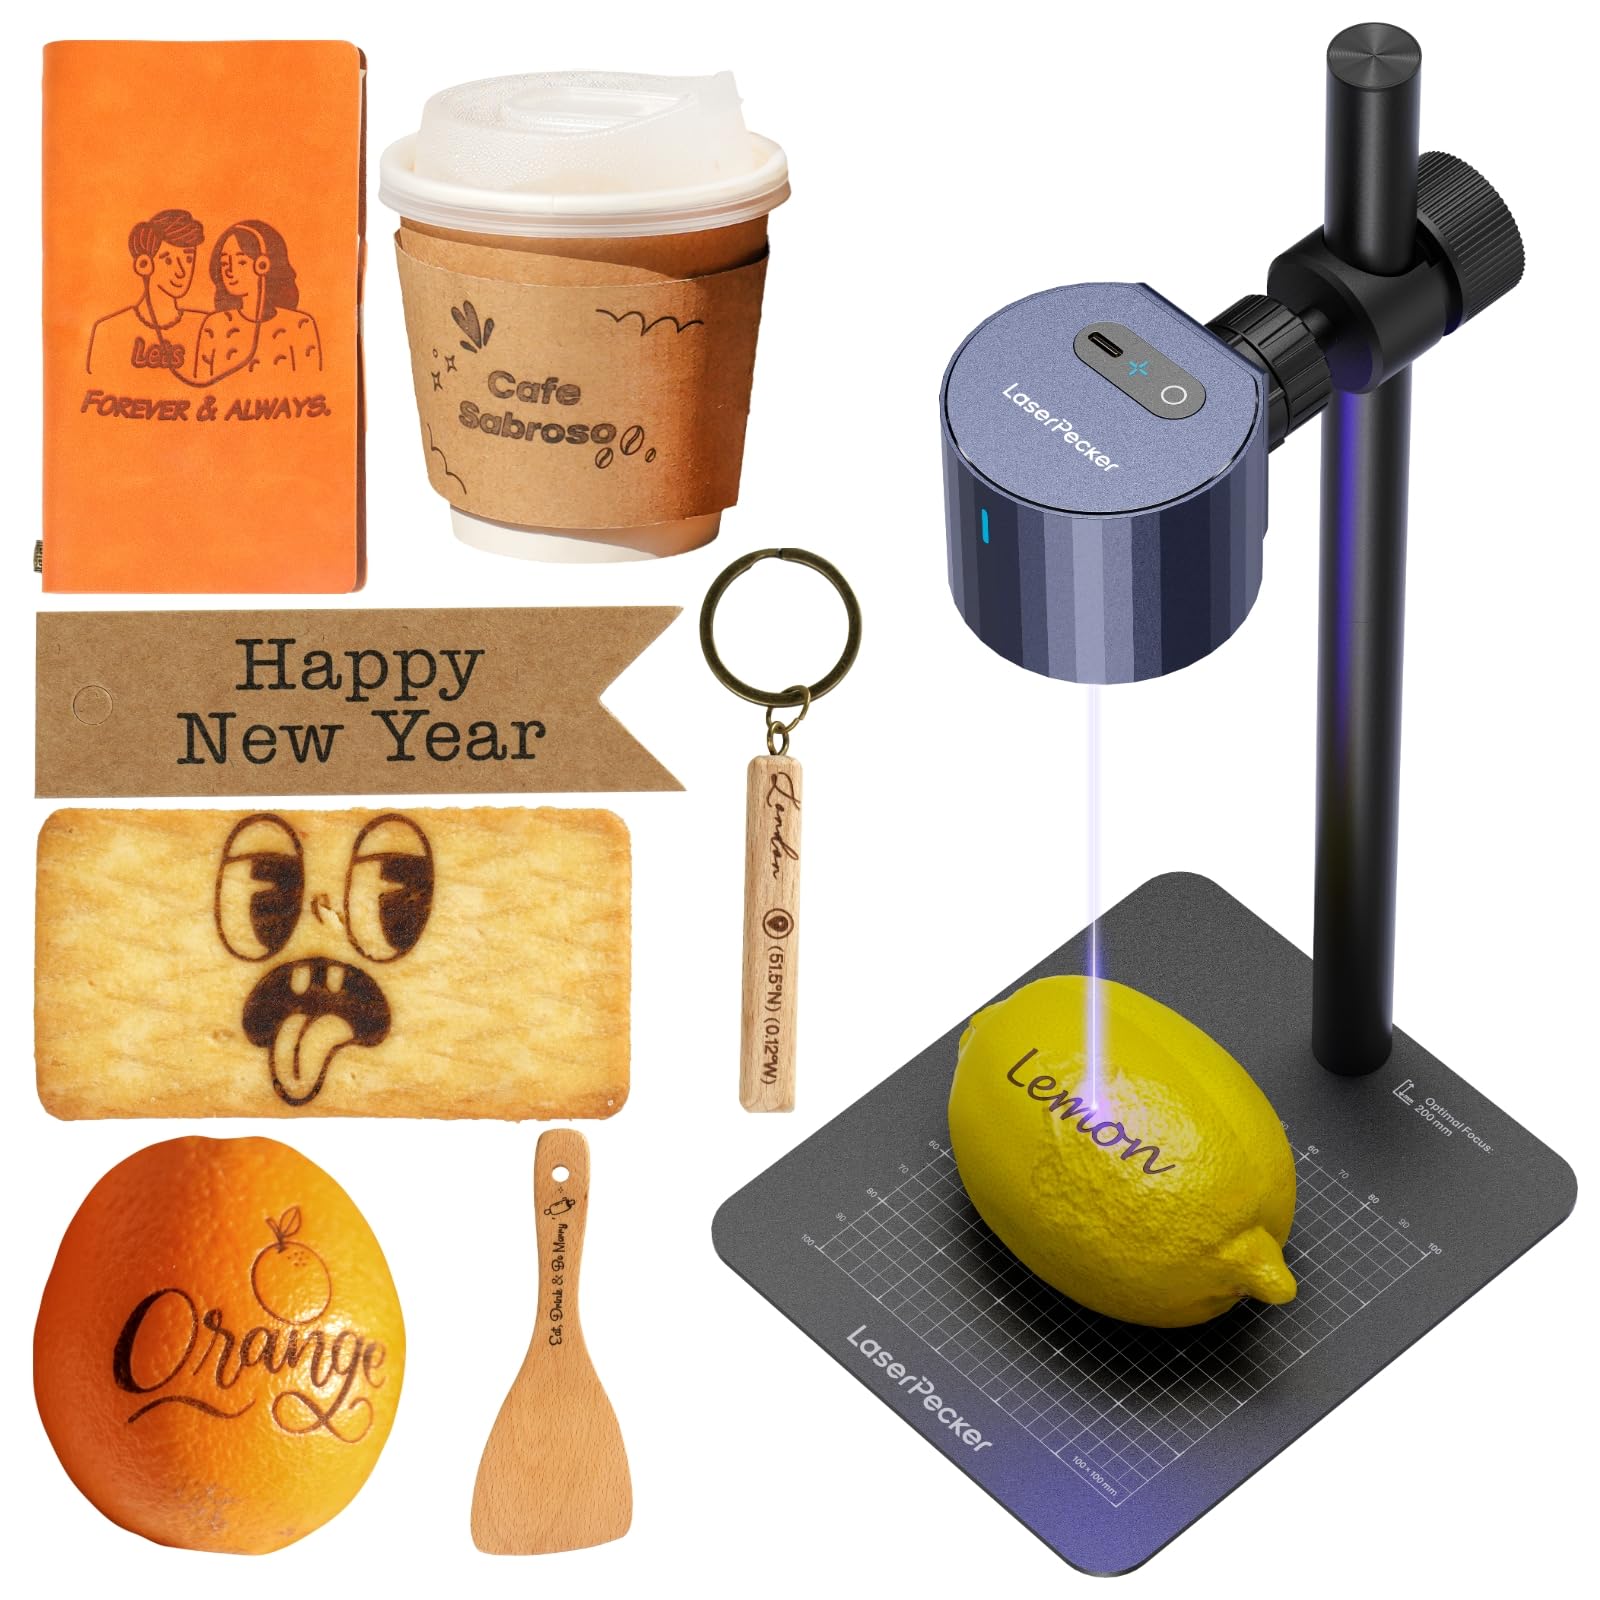
Start with the limitation, because LaserPecker prints it on the listing: this machine does not engrave metal. It also needs the lens 200 mm from the surface, measured with the ruler in the box, for every job.

What is left after that is a 2.4-pound engraver that runs off a power bank, mounts on an adjustable stand and aims at almost any angle, including the inside of a pair of sunglasses. The app handles design, and the start-up is a two-minute job rather than an evening.

It suits marking a gift at a craft fair, personalizing leather in a small apartment, or working on curved objects that will not sit flat under a gantry. Fine lines are its strong suit — small text, logos and detail that would be fussy on a big open frame.

The 200 mm standoff is the skill you learn. Getting it right by hand, job after job, is where most of the frustration lives, and it is why this machine rewards a test burn on scrap before you commit the real piece.

As a second machine, we keep coming back to it: nothing else here goes to the craft fair, and nothing else engraves the inside of a curved object. As a first machine it teaches you laser work without teaching you layout, beds or cutting.

Pros

  • 2.4 pounds and power-bank powered
  • Adjustable stand aims at any angle
  • Fine detail on small awkward objects

Cons

  • Metal engraving is not supported
  • Manual 200 mm standoff takes practice
Our verdict

A pocket engraver for small, awkward objects and work away from the bench — not the machine to learn layout and cutting on.

Check Latest Price

How We Tested the Best Beginner Laser Engravers

We started with roughly 30 machines drawn from customer review data and spec sheets, then narrowed to nine using three practical filters: a work area big enough for a coaster or a phone case, software that talks to standard engraving programs instead of locking you into one cloud app, and a price that makes sense for a first machine. We also favored units that could handle more than plywood, since versatility is usually the reason people buy one at all.

Every unit was assembled from the box by one person with the manual and a stopwatch, then connected to a laptop over USB and, where offered, Wi-Fi, so we could time the trip from unopened carton to first burn. I ran the sample file each maker supplies and noted whether the software recognized the machine on the first attempt or sent us hunting for drivers. Then I burned a test grid on scrap plywood, stepping through power and speed to find where each one produced a clean dark mark rather than a scorch or a faint scratch, and repeated the same design in all four corners of the bed to see whether the beam held focus across the full working area.

Real projects followed over the six months: small text on birch, a leather patch, an acrylic keychain, a coated metal tag, a slate coaster. I checked whether edges came out crisp or fuzzy, whether tiny lettering stayed legible, and how much soot was left to wipe off afterward. Each machine also ran one continuous 90-minute job while I watched for skipped steps, frame wobble, and stray light leaking past the enclosure, and I adjusted focus height and swapped modules where the design allowed it to judge how much tinkering each one asks of a beginner. Value we scored last, against optical output and usable bed size rather than the number on the carton.

How to Choose a Beginner Laser Engraver

Optical Power, Not the Big Number on the Box

A listing that says 50W, 72W or 80W is usually quoting input power to the whole machine; the figure that cuts is the optical output, which among these machines runs from 2.5W to 40W. That single number decides what you can do. Around 5W to 7W you get clean engraving on wood, leather, acrylic and coated metal plus cutting of paper-thin stock; 10W adds thin plywood and faster passes; 40W is where real cutting starts and the depth claims get serious.

Our advice is to buy power for cutting, not for engraving. If your projects are names on keychains and logos on tumblers, a 5W to 7W machine is enough and the money is better spent on a bigger bed or an enclosure. If you plan to cut through plywood rather than mark it, pay for the 10W.

Enclosure First, if the Machine Lives Indoors

An open-frame laser means safety glasses on everyone in the room, a window or extraction for the smoke, and somebody within arm's reach for the entire job. A Class 1 enclosure filters the beam and contains the smoke, though you still have to vent it somewhere. One trap worth knowing: a module sold as Class 1 output is not the same thing as a Class 1 machine. If there is no lid, treat it as an open laser and wear the glasses.

The decision is mostly about where the machine sits rather than what it makes. A garage with a window and a door is open-frame territory. A spare bedroom, a kitchen table or a flat with a cat is not, and the enclosure is the one upgrade you cannot add later.

Bed Size Decides the Projects You Say No To

Work areas here run from 130 x 130 mm to a 23.93 x 15.16-inch bed, and that range is the difference between engraving one coaster and laying out a set of six. Measure the biggest thing you genuinely intend to make — a cutting board, a tumbler wrap, a sign blank — then add an inch or two for clamping and for lining the design up.

Beginners under-buy here because the bed is the least exciting line on the page. A larger bed also means fewer re-fixturings and less waste when a design drifts between runs, which is a big part of why the 400 x 400 mm machine took our top spot over smaller machines with similar power.

Setup and Software Decide Whether You Keep Going

The machine is the easy part; the first ten designs are the hard part. A machine that runs LightBurn or LaserGRBL plugs you into a huge library of tutorials and shared settings. A closed app ecosystem can be friendlier on day one and limiting by month three. Both routes are fine as long as you know which one you are buying.

Then there is the physical setup, which ranges from 99% preassembled with a one-minute head install to an evening of belts and eccentric nuts. Auto-focus and cameras remove the two steps beginners get wrong most often, and on a machine you will use weekly they are worth paying for.

Frequently Asked Questions

Final Verdict

For most people buying a first laser, the KENTOKTOOL LE400PRO is the one to order: a 400 x 400 mm bed, an all-metal frame, a 5.5W head that handles the engraving beginners actually do, and a setup that does not eat the weekend. Buy it if the machine can live near a window and you are willing to wear glasses while it runs.

If it is going in a shared room, spend the extra on the Woxcker L2 MAX — the enclosure and interlocks are worth more than the power difference. And if you already have orders to fill, the xTool S1 40W is the machine that will not need replacing in six months.