Best FDM 3D Printers of 2026

The fear with a first 3D printer is that you're not buying a machine, you're adopting a hobby — and the hobby turns out to be fixing the machine. I have a shelf of failed first layers that says the fear is earned. A good FDM printer ends that: you download something, hit print, and get it.

Newer machines handle the fussy parts themselves — they level the bed, compensate for a warped plate, watch a print with a camera, and some swap between four colors without you touching a spool. We've spent the past 10 months with 8 of them, and the gap between a printer that helps you and one that fights you comes down to setup and software more than price.

The headline speed on the box matters far less than how a machine behaves when it isn't printing fast, and with multi-color, the colors are easy to advertise while the filament each swap wastes is what you'll feel. The picks below held up in daily use, from a mini a kid can run to a large enclosed machine.

1

Best Overall

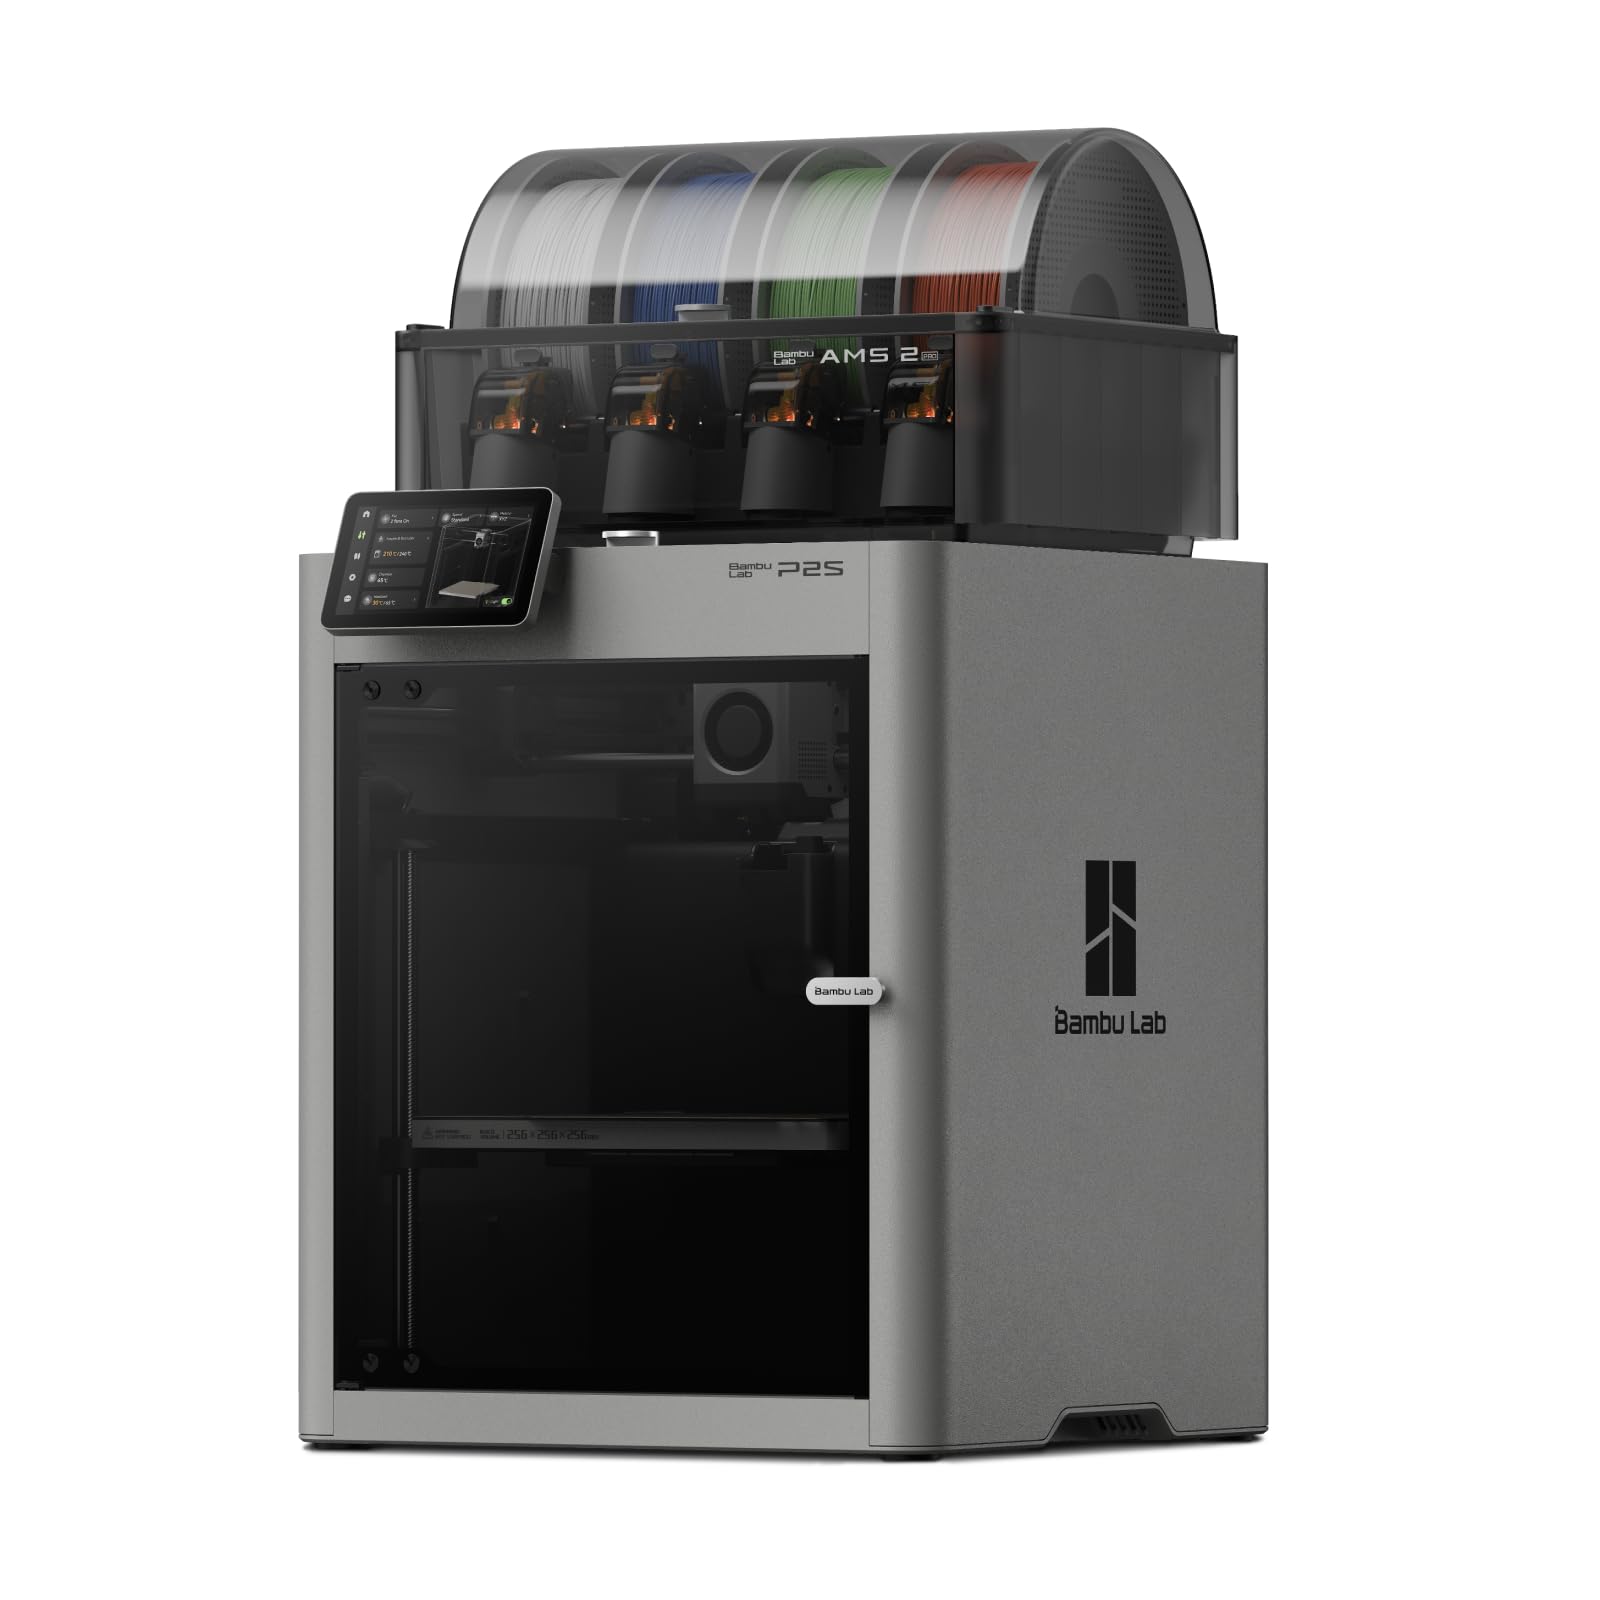
Bambu Lab P2S Combo

87 /100
LBD Score Excellent

Key details

Printer Weight
46.3 lb
Filament Drying
Up to 65 °C
Max Print Speed
600 mm/s
Chamber Temperature
50 °C
View on Amazon

The AMS 2 Pro is the part worth understanding. It holds four spools and dries them at up to 65 °C while they sit loaded, so a spool of PETG that has been open for a month goes in ready to print. Underneath it sits an enclosed CoreXY machine rated at 600 mm/s, with a 50 °C chamber, automatic calibration, quick-swap nozzles and an AI camera watching for failures.

That combination is why we rank this one first. Several printers here do multi-color and several are fast; this is the one that also manages the two things that ruin prints — damp filament and a cold, drafty chamber — in a single box. Bambu quotes fifteen minutes from box to first print, and the automatic calibration that runs on first boot is why that number is believable rather than marketing.

Living with it is the part a spec sheet doesn't cover. The enclosure keeps dust and drafts off the bed and dulls the noise an open-frame machine makes at the same speed, which matters when the printer shares a room with you. The door also stays shut for the length of a print, which is the simplest way to keep small hands away from a hot nozzle.

Where it stops making sense for us is single-color PLA. If you print one material in one color, you are paying for drying, a four-spool changer and a chamber you never use, and the A1 does that job well for far less. For anyone planning to try different filaments, this is the machine you grow into instead of replacing.

Pros

  • Dries filament while it sits in the AMS
  • Enclosed 50 °C chamber for engineering filaments
  • 600 mm/s with automatic calibration
  • AI failure detection catches bad prints early

Cons

  • Heavy at 46.3 pounds, so it needs a solid bench
  • AMS 2 Pro adds height above the frame
Our verdict

We think it's the best all-around printer here: an enclosure, spool drying, four colors and 600 mm/s in one machine, and the combo earns its step up in price.

Check Latest Price
2

Best for Multi-Color Work

Snapmaker U1

89 /100
LBD Score Excellent

Key details

Toolheads
4 independent
Printer Weight
57.9 lb
Tool Change Time
5 seconds
Printer Dimensions
22.6 x 13 x 14.2 in
View on Amazon

Watch a purge-based printer change colors and you are watching filament get thrown away — the AMS, CFS and ACE systems here build a waste tower between colors. The Snapmaker U1 avoids that by carrying four independent toolheads, each with its own filament already loaded, and swapping the active one in about five seconds. Of everything here, this is the one we take when a model needs three or four colors.

The payoff goes past tidiness. A small multi-color part on a purge machine can use more filament in the waste tower than in the print itself; on the U1 there is essentially none. Because each head holds its own material, rigid and flexible filaments, or a water-soluble support, can share one job — the kind of thing that is genuinely fiddly on a single nozzle. Automatic toolhead offset calibration and vibration compensation handle alignment that used to mean feeler gauges and patience.

What it costs you is space and learning. At 57.9 pounds with a 22.6-inch depth it needs a deeper bench than the bed-slinger picks, and Snapmaker Orca is a more capable slicer than Bambu Studio and correspondingly less hand-held, so budget an evening with it. The tool changer's economics only pay off when color is routine; for single-color work this is a lot of machine sitting idle.

Pros

  • Five-second tool swaps with no purge tower
  • Rigid and flexible materials in a single print
  • Automatic toolhead offset calibration

Cons

  • Four spools needed to use all four toolheads
Our verdict

For multi-color and multi-material work we take the U1 — four toolheads and no purge towers save filament and hours that no other pick here matches.

Check Latest Price
3

Best for Beginners

Bambu Lab A1

90 /100
LBD Score Outstanding

Key details

Calibration
Fully automatic
Noise Level
≤48 dB
Acceleration
10,000 mm/s²
Printer Weight
22 lb
View on Amazon

The A1 is the printer we hand to people who have never sliced a file. It arrives as an open-frame bed slinger weighing 22 pounds, and the first thing it does after you switch it on is calibrate itself — bed mesh, flow rate, vibration — with no piece of paper or feeler gauge anywhere in the process.

It earns the beginner slot because it removes the two things that make new owners quit: manual leveling and slow printing. Acceleration is rated at 10,000 mm/s², quick enough that a small part finishes while you are still watching, and the noise figure is 48 dB or less, quiet enough to sit in a room you are working in. The touchscreen and the MakerWorld library mean the first week goes on choosing models instead of fighting software.

The limits are real but predictable. An open frame keeps you in PLA and PETG territory — no ABS, no ASA — and early print-head failures do happen, so buy where a return is simple and keep the box for the first month. Beyond that there is very little to adjust once it is going, which is the whole appeal.

Pros

  • Fully automatic calibration on first boot
  • Quiet enough for a shared room
  • Fast acceleration for small parts
  • Large free model library through MakerWorld

Cons

  • Multi-color requires adding the AMS lite
Our verdict

We recommend it as a first printer: it calibrates itself, runs quietly enough for a home office, and leans on the best model library in this group.

Check Latest Price
4

Best Budget Multi-Color

Anycubic Kobra X

84 /100
LBD Score Excellent

Key details

Noise Level
45 dB
Build Volume
260 mm cube
Built-in Colors
4
Max Print Speed
600 mm/s
View on Amazon

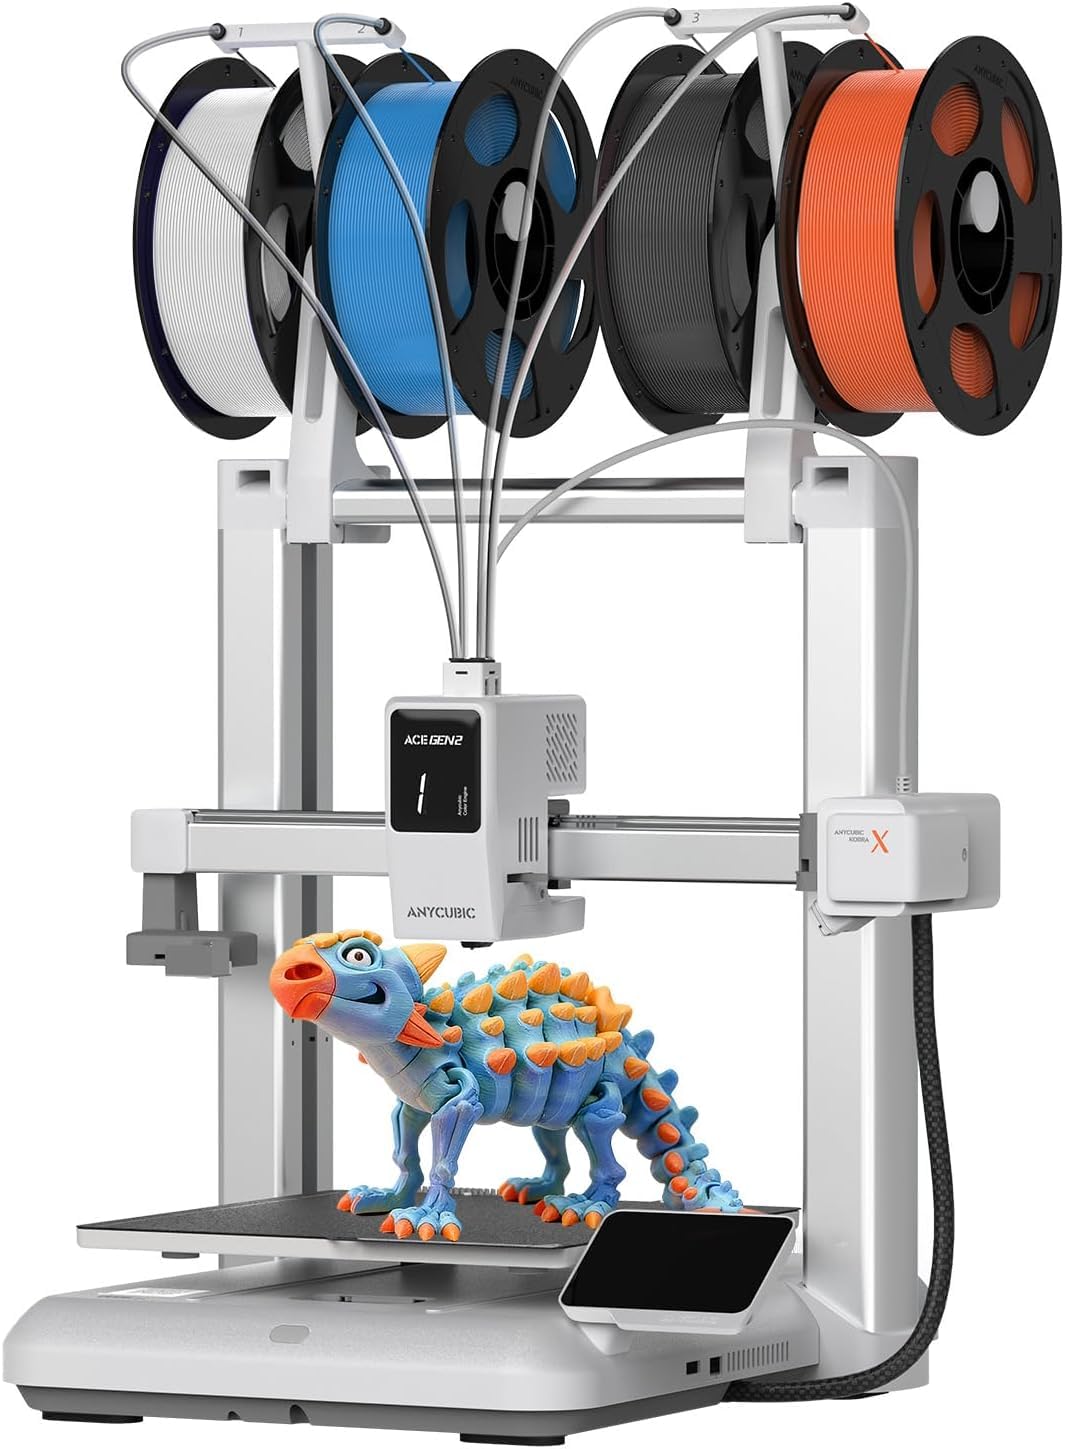
Four colors, without buying a changer first. The Kobra X arrives with four color paths ready to load, where the other multi-color machines here start with one filament and ask you to add a unit. That is why we think it is the cheapest way into color printing in this group. Stack four ACE 2 Pro units and it goes to 19 colors, which is a hobbyist's path rather than a starter's.

The machine around the color system is sensibly sized: a 260 mm cube, 20.9 pounds, 45 dB, with the spool mounted on top to keep the desk clear. A hardened steel nozzle, 600 mm/s and 49-point auto leveling cover what budget machines usually leave out, and the app adds spaghetti detection and remote control on top.

Reliability is the variable. The machines that run cleanly seem to keep running; the ones that go wrong do it early, with jams and clogged nozzles behind most of it. That makes the first month the one that matters, so buy from a seller with a straightforward return and run a long multi-color job before you trust it with something you care about.

Pros

  • Four colors ready without an extra unit
  • 45 dB and 20.9 pounds on a desk
  • 49-point auto leveling with a hardened nozzle

Cons

  • Color changes still purge filament
Our verdict

We think this is the least you can spend for four colors on a desk-sized machine, provided you are ready to watch the first month closely.

Check Latest Price
5

Best Budget High-Speed

FlashForge Adventurer 5M

85 /100
LBD Score Excellent

Key details

Acceleration
20,000 mm/s²
Build Volume
220 x 220 x 220 mm
Printer Weight
23.8 lb
Max Print Speed
600 mm/s
View on Amazon

There is no enclosure here, and that single omission decides who the printer is for. PLA, PETG and TPU print happily in open air; ABS and ASA want still, warm air and ventilation this machine does not provide. What you get instead is a compact open-frame CoreXY with a 220 mm cube, a 23.8-pound body and a footprint that fits a desk.

The numbers it does have are strong for the money: 600 mm/s with 20,000 mm/s² of acceleration, a 32 mm³/s hot end that reaches 200 °C in 35 seconds, one-click leveling, vibration compensation to kill ghosting and a dual-sided PEI plate that releases a part with a bend. Filament run-out sensing and power-loss recovery are the two features that rescue a long print from a stupid failure, and both are here.

We like it as the budget pick because it does not feel like one. The speed and the leveling are the same ideas the expensive machines use, just without the enclosure and the color system, and 220 mm covers most functional parts. If your printing is brackets, jigs and replacement pieces in PLA and PETG, nothing here does more for less.

Pros

  • 600 mm/s with high acceleration
  • Hot end reaches 200 °C in 35 seconds
  • One-click leveling with vibration compensation
  • Dual-sided PEI plate and run-out sensing

Cons

  • Loud in a shared room
Our verdict

We like it as the budget pick: 600 mm/s and one-click leveling for hobby money, as long as PLA and PETG are all you print.

Check Latest Price
6

Best for Large Builds

Creality K2 Plus Combo

85 /100
LBD Score Excellent

Key details

Build Volume
350 x 350 x 350 mm
Max Print Speed
600 mm/s
Colors Supported
Up to 16
Chamber Temperature
60 °C
View on Amazon

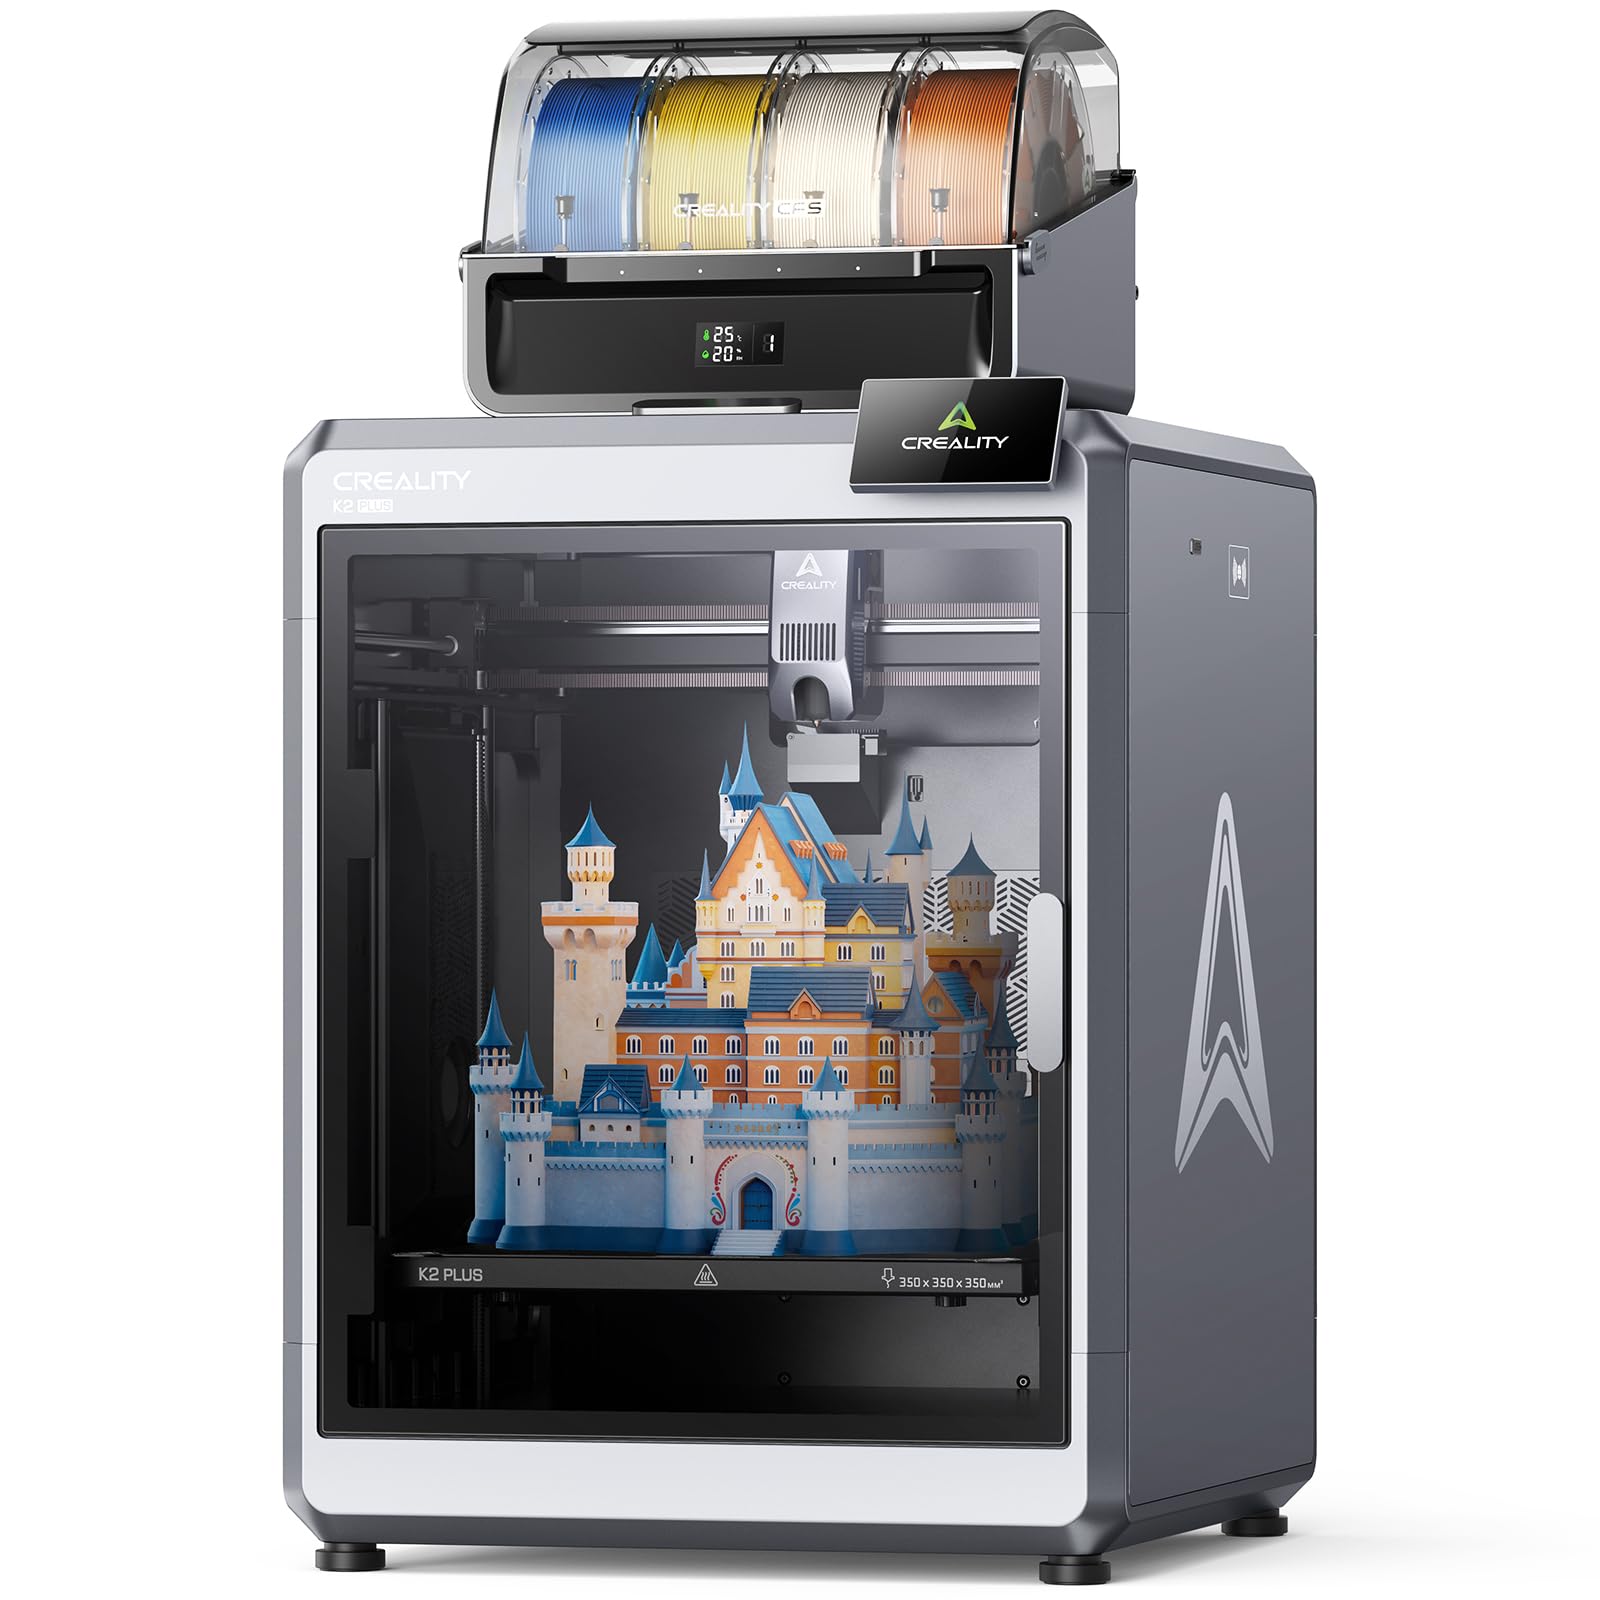
A 350 mm cube is the whole argument. Most printers here top out between 220 and 260 mm on a side, which is fine until you want a helmet, a full-size prop or a single-piece housing — then you are splitting the model, adding joints and gluing. The K2 Plus prints those in one go, inside a heated chamber.

That chamber holds 60 °C, which is what makes ASA and PPA practical rather than adventurous, and four CFS units take it to 16 colors if you stack them. Two AI cameras and eighteen sensors watch the job; the useful version of that is a machine that pauses when a layer goes wrong instead of grinding filament into a nest overnight. Speed is rated at 600 mm/s with 30,000 mm/s² of acceleration.

The size and the chamber are worth the money, and reliability is the variable you accept with them: some of these run for months without a hitch, others quit early, so the return window matters more here than on the smaller picks. Watch the first twenty hours closely. That is when a machine declares itself.

Pros

  • 350 mm cube prints big models in one piece
  • 60 °C chamber for ASA and PPA
  • Up to 16 colors with four CFS units
  • Dual AI cameras and eighteen sensors

Cons

  • Pictures-only manual slows assembly
  • At 70.4 pounds it takes two people to place
Our verdict

We recommend it when a model has to be big: the 350 mm cube and heated chamber do what no other printer in this group can.

Check Latest Price
7

One-Click Household

Creality SPARKX i7 Combo

79 /100
LBD Score Very Good

Key details

Build Volume
260 x 260 x 255 mm
Pre-assembled
95%
Printer Weight
33 lb
Built-in Colors
4
View on Amazon

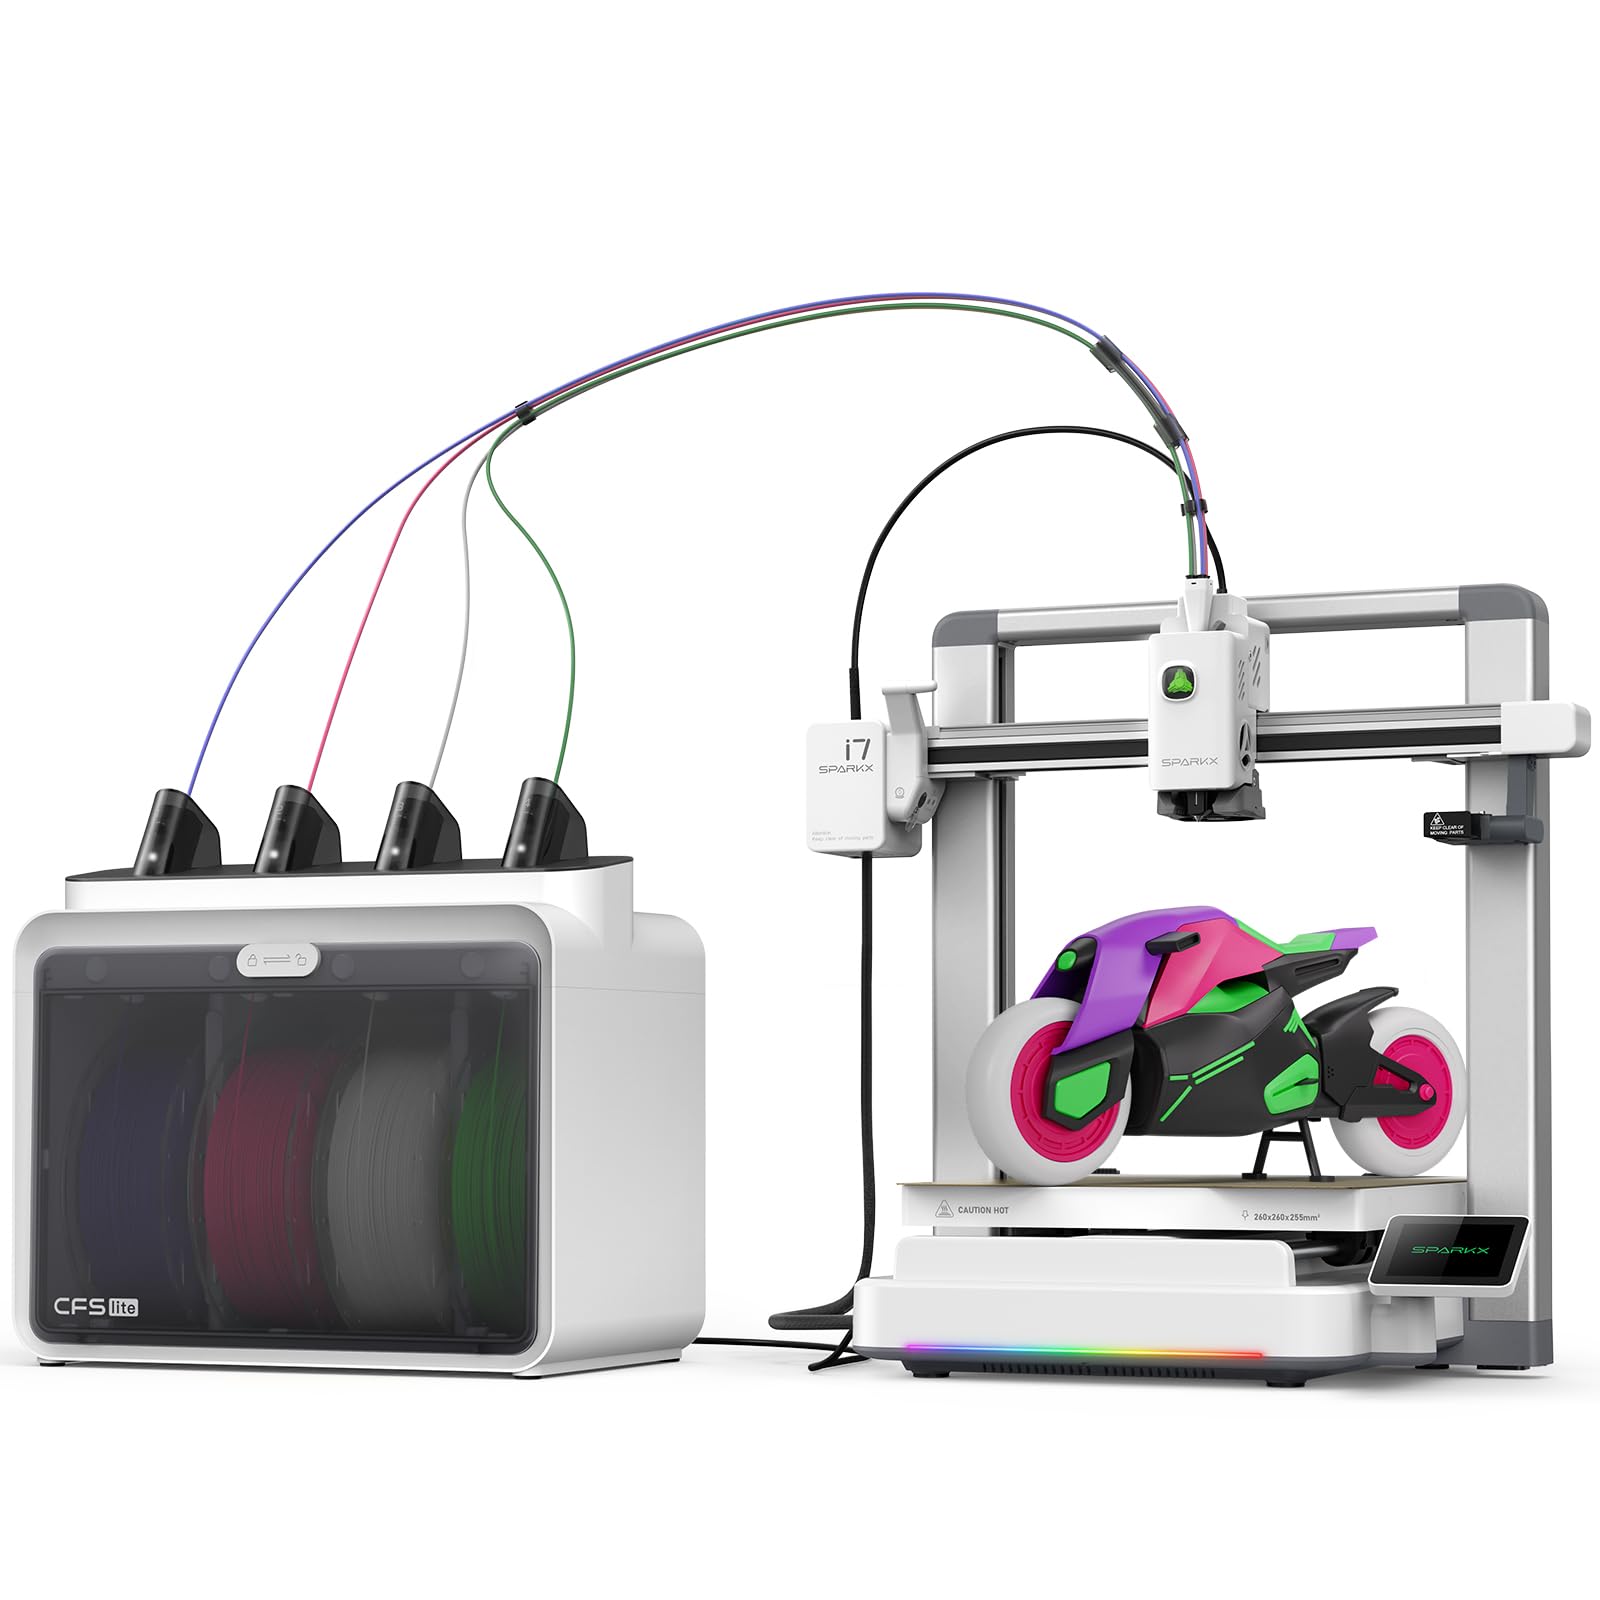
Where the A1 asks you to find a model and slice it, the SPARKX i7 offers to make one from a photo. Creality's CubeMe tool turns a portrait into a printable relief, and for someone who wants a shelf of personalized gifts rather than a new hobby, that is a more honest pitch than another speed figure.

The hardware is roomier than the price suggests: a 260 by 260 by 255 mm build volume, four colors through the CFS Lite, an AI camera watching for spaghetti and air printing, and a night mode that quiets the fans. It arrives 95 percent assembled and weighs 33 pounds. The RGB lighting is either why you want it or the first thing you switch off.

Setup is where the five-minute claim meets reality. Unboxing and bolting it together really is quick; creating the account, updating firmware and running the first calibration is what fills the evening. Instructions have been this machine's weak spot, so let the app walk you through rather than the paper.

As a shared family printer that produces something recognizable in an afternoon, it earns its place — just do not expect to grow into pressure-advance tuning on it, because the slicer and the cloud workflow keep you at arm's length from that. What it does well is remove the decisions.

Pros

  • Photo-to-3D conversion built into the workflow
  • 260 mm build with four colors
  • Arrives 95 percent assembled

Cons

  • Color changes still produce purge waste
Our verdict

Our pick for a household that wants one-click prints: photo-to-model tools, four colors and a roomy build, with almost no interest in tinkering.

Check Latest Price
8

Kids and Beginners

Entina Tina2C

86 /100
LBD Score Excellent

Key details

Connectivity
2.4G WiFi and TF card
Model Library
3,500+ models
Printer Weight
5.28 lb
Printer Dimensions
8 x 6.5 x 10 in
View on Amazon

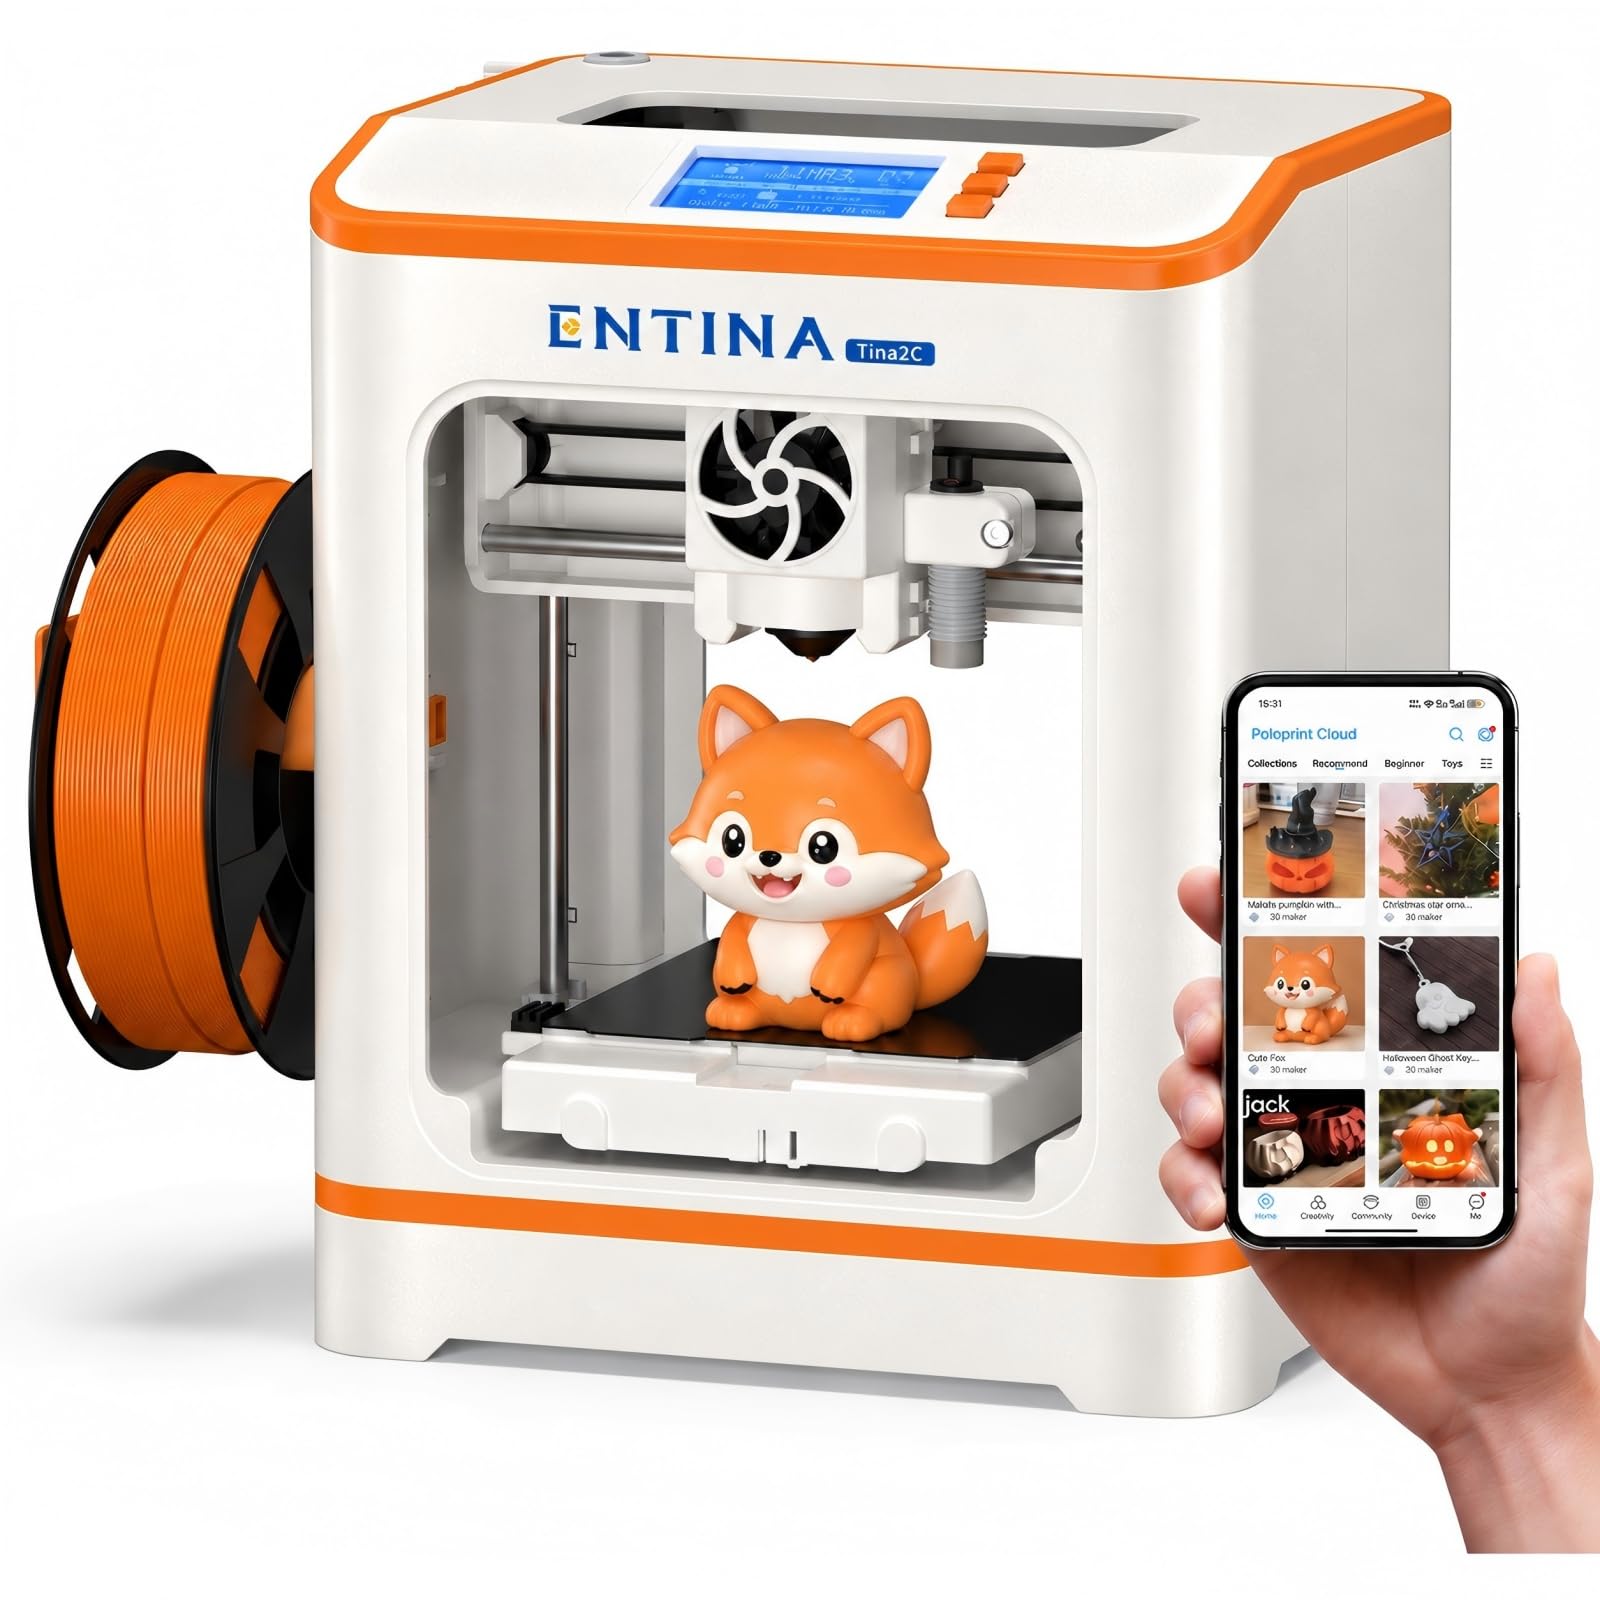
At 5.28 pounds and eight inches across at its widest, the Tina2C is the only printer here you can pick up with one hand and set on a nightstand. That is not a compromise you tolerate, it is the product: a child can have it in their room, and it goes in a cupboard when the novelty wears off.

Setup runs through the Poloprint Cloud app, which walks the first print through step by step and opens a library of more than 3,500 models, including creative modules that produce something specific — a night light, a puzzle — instead of a calibration cube. The magnetic plate bends to release a part, auto leveling takes the paper ritual out of the first layer, and a TF card slot covers printing without WiFi.

The app is also the ceiling. Guided setup is wonderful for the first ten prints and limiting by the fiftieth, because the workflow assumes the cloud library rather than your own models; offline mode is the escape hatch, not the main road. Nothing here teaches you a slicer with real settings, and that is a separate education on a different machine.

What it does teach is the rhythm: model, slice, wait, remove, repeat, and that transfers to any printer you buy next. When the interest sticks — and with a kid it often does — the A1 is the natural step up, and this little machine has done its job.

Pros

  • 5.28 pounds, small enough for a shelf
  • Guided app setup with 3,500+ models
  • Magnetic plate and auto leveling

Cons

  • Build plate too small for full-size objects
Our verdict

We hand it to a child or a curious beginner: light, tiny, app-guided, and inexpensive enough that a failed print teaches something.

Check Latest Price

How We Tested 8 Printers Over 10 Months

We started with every FDM printer that had built a real following over the past two years, then filtered for things that change daily use: an automatic leveling routine, a heated bed with a removable plate, a frame that suits the materials people actually print, and a multi-color option that doesn't throw away half a spool. That left 8 machines, which ran side by side for 10 months on a workbench in a spare room and, for the quietest ones, on a kitchen counter.

Every printer got the same start. I timed the unboxing and assembly, noted how much of the instructions was diagrams versus words, and clocked the minutes from cardboard to a finished first print. Each machine then printed the same benchmarks in the same filament — a small articulated figure, a hollow cube for dimensional accuracy, and an overhang test — so I could compare surface finish, layer lines, and stringing directly.

Bed adhesion got its own pass: I checked the first layer at all four corners, pulled each print free to see whether the plate released cleanly or needed a fight, and watched how the coating held up after dozens of cycles. Multi-color jobs were weighed before and after to count purge waste, and each printer ran at least one 20-hour job to see whether it finished without a failed layer or a jam.

Noise was measured with a meter at arm's length during a normal print and again from the next room at night, since plenty of these end up in a bedroom or shared office. Speed claims were checked by printing the same model on the default profile and again at the machine's fastest setting, then comparing the results rather than the stopwatch alone. We kept a running log of small failures too — a clog, a snagged spool, a firmware update that demanded re-leveling — because reliability over months says more than one good print.

How to Choose an Fdm 3D Printer

Start with build volume, not the feature list

A 220 mm cube covers most of what people make in their first year: brackets, planters, toys, replacement knobs, phone stands. A 256 to 260 mm machine takes larger assemblies and most cosplay pieces in sections, and a 350 mm cube like the K2 Plus is for helmets, full-size props and single-piece housings.

The trap is that listings use the word large for the machine's footprint as often as for the print area, so read the three build dimensions rather than the shipping box. If the model you have in mind needs splitting and gluing, you have bought the wrong size, not the wrong brand.

Enclosure and the materials you plan to run

An open-frame printer is a PLA and PETG machine in practice. Both print beautifully at room temperature and cover most household projects. ABS, ASA and polycarbonate want still, warm air — a 50 to 60 °C chamber — or they warp and split between layers, which is exactly why the P2S and the K2 Plus enclose the build.

There is a ventilation side to this too: printing always releases some ultrafine particles, and engineering filaments release more, so an enclosed machine in a spare room with a window beats one on a bedroom shelf. Don't assume you can add an enclosure later; on most of these it is not a bolt-on extra.

Purge systems versus tool changers

Every multi-color printer here changes color one of two ways. Purge systems — Bambu's AMS, Creality's CFS, Anycubic's ACE — retract one filament and flush the next through the nozzle, building a waste tower or purge block, and the waste grows with the number of colors in a layer. Tool changers, which is what the Snapmaker U1 uses, park one head and pick up another, so nothing is flushed.

If a handful of colored prints a year is the plan, a purge system is perfectly reasonable and considerably cheaper. If most of what you print is colored, run the arithmetic on filament before you buy the machine, because the tower is where the savings disappear.

What setup and calibration claims actually mean

Pre-assembled and ready in 15 minutes are accurate statements about the box, not about the machine. Fifteen minutes gets you through unboxing, removing the shipping braces and running the built-in calibration; the printer is working, but you have not learned it yet.

What has genuinely changed is calibration. Automatic bed mesh, flow compensation and vibration compensation now do work that used to take a feeler gauge and an hour, and that is the single biggest reason a beginner can succeed on a modern machine. Budget an evening anyway, print the maker's test model, and keep the first real project small.

Reliability, upkeep and the parts you will replace

The parts that fail on a consumer FDM printer are consumables in all but name: nozzles, hot ends, build plates and the tube that guides filament. Failures tend to cluster in the first weeks and show up as jams, first-layer problems and clogged nozzles rather than as a machine that dies suddenly at month eight.

So keep a spare nozzle and a spare plate on the shelf, store filament dry, and buy from a seller whose return process you have actually read. That advice matters more, not less, on the big heavy machines, where shipping one back is a project of its own.

Frequently Asked Questions

Final Verdict

The Bambu Lab P2S Combo is what we recommend to most people spending real money here: it dries its own filament, holds a 50 °C chamber, prints four colors, and runs at 600 mm/s without asking you to learn calibration first. For a tighter budget, the A1 is the same philosophy at a beginner's scale and the better first printer.

And if color is the point rather than an occasional indulgence, the Snapmaker U1 does it with independent toolheads and almost no purge waste — different economics, and the right answer for anyone whose prints are routinely multi-color.